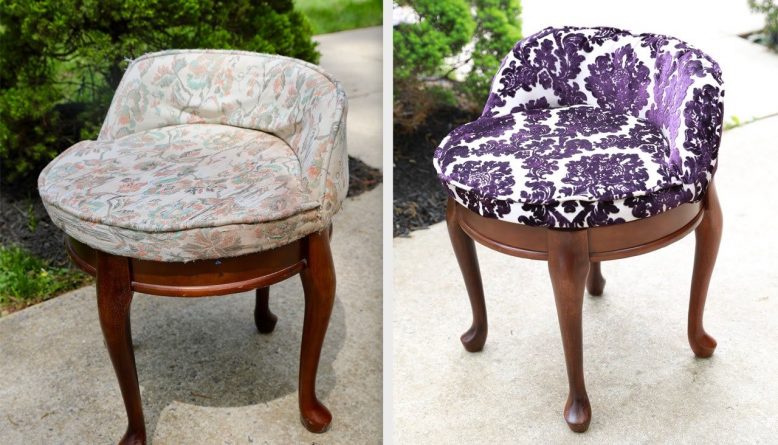
(BPT) – A thrift store can be a treasure trove of forgotten furniture just waiting to be brought back to life. Blogger Serena Appiah from ThriftDiving found a $10 chair that needed some love, including updating the worn and dated fabric. In a few steps using simple-to-use tools like an Arrow T50 Staple Gun, she transformed the drab chair into a statement piece that would be a great addition to any room.
Some of the supplies used include:
Arrow Fastener PT50 Pneumatic Staple Gun
1/4-inch Arrow T50 staples
Arrow SL24D Staple Lifter
Air compressor
Sewing machine
Screwdriver or power drill
Java Gel stain
For a full list of tools and materials, check out the project on arrowfastener.com.
Step 1: Remove the old fabric
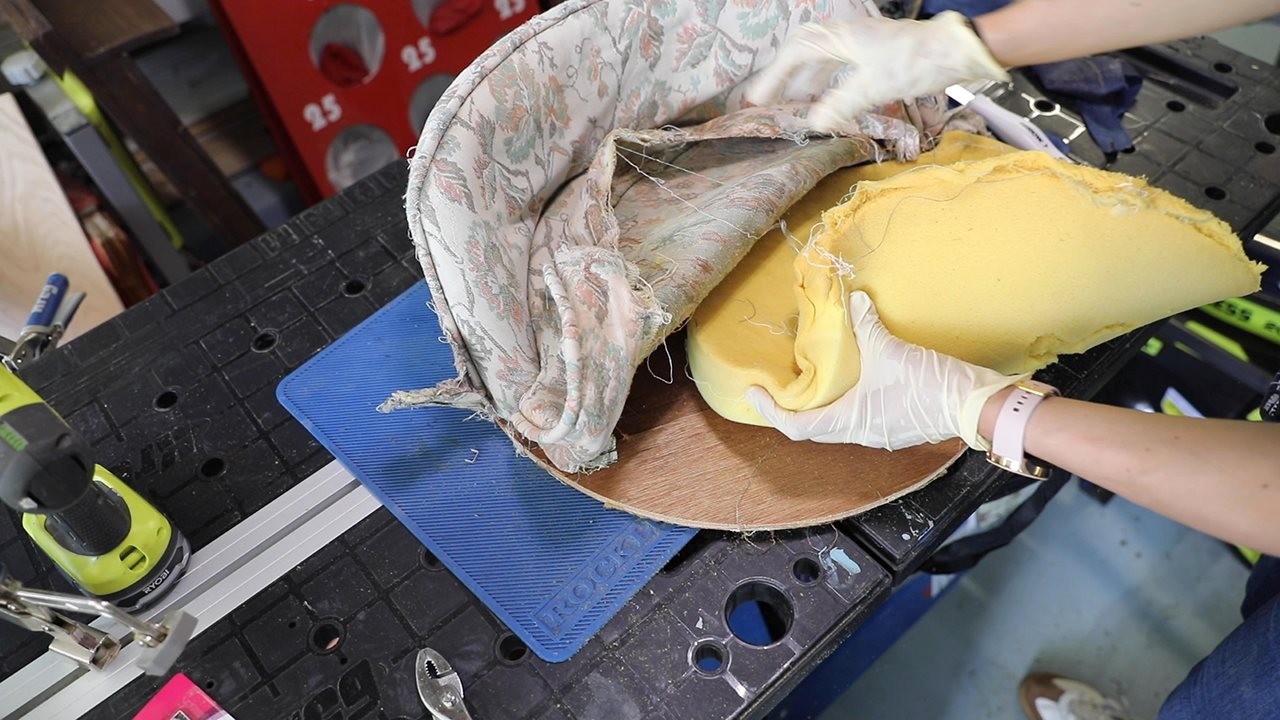
When reupholstering a piece of furniture, salvage the old fabric to use as a pattern by removing it with a staple lifter. You’ll need a seam ripper to separate the pieces carefully. DIY hack: Be sure to take detailed pictures of what your chair looks like before you start removing all of the pieces or else you may not remember how it goes back together. Also, remember that whatever you remove first will be the part of the chair that you’ll put back together last.
Step 2: Cut out the new fabric
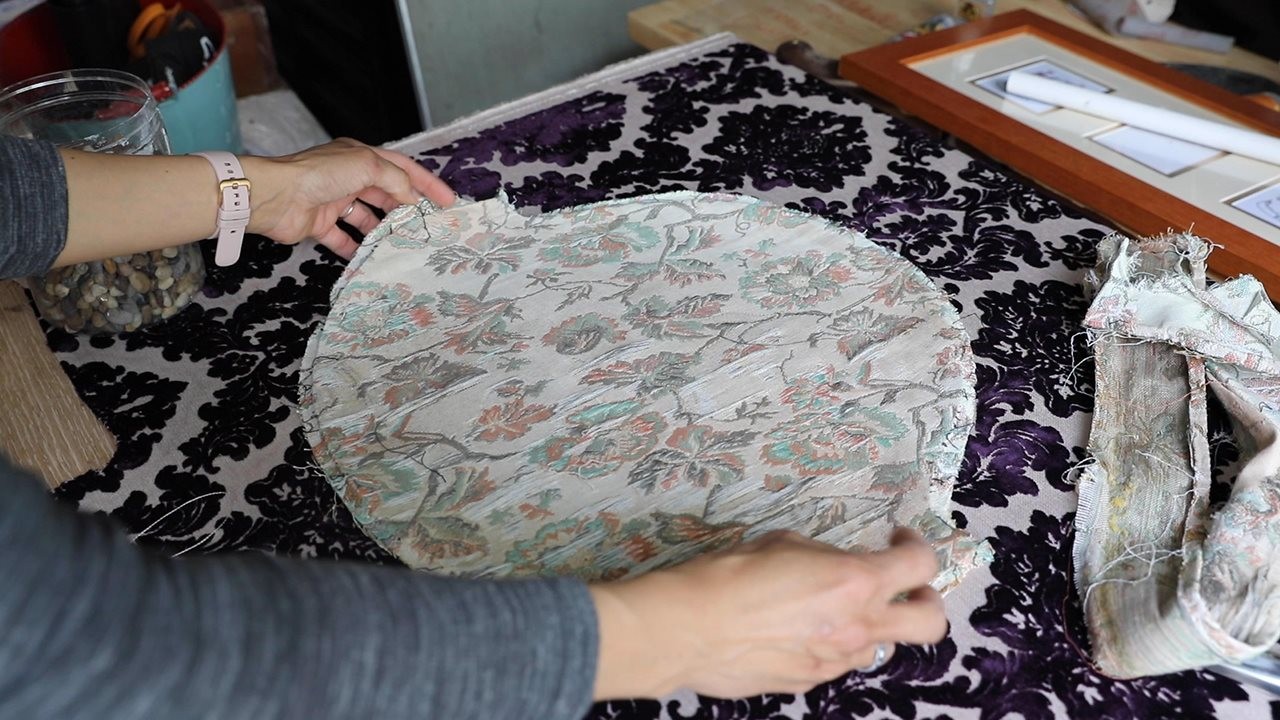
Using the old pieces of fabric, lay them onto the new fabric and cut them out. Seam allowances are usually 1/2-inch to 5/8-inch, and should already be included in the pattern, but it’s usually a good idea to add this extra amount to account for errors. It’s always better to have more than not enough!
Step 3: Sew the piping
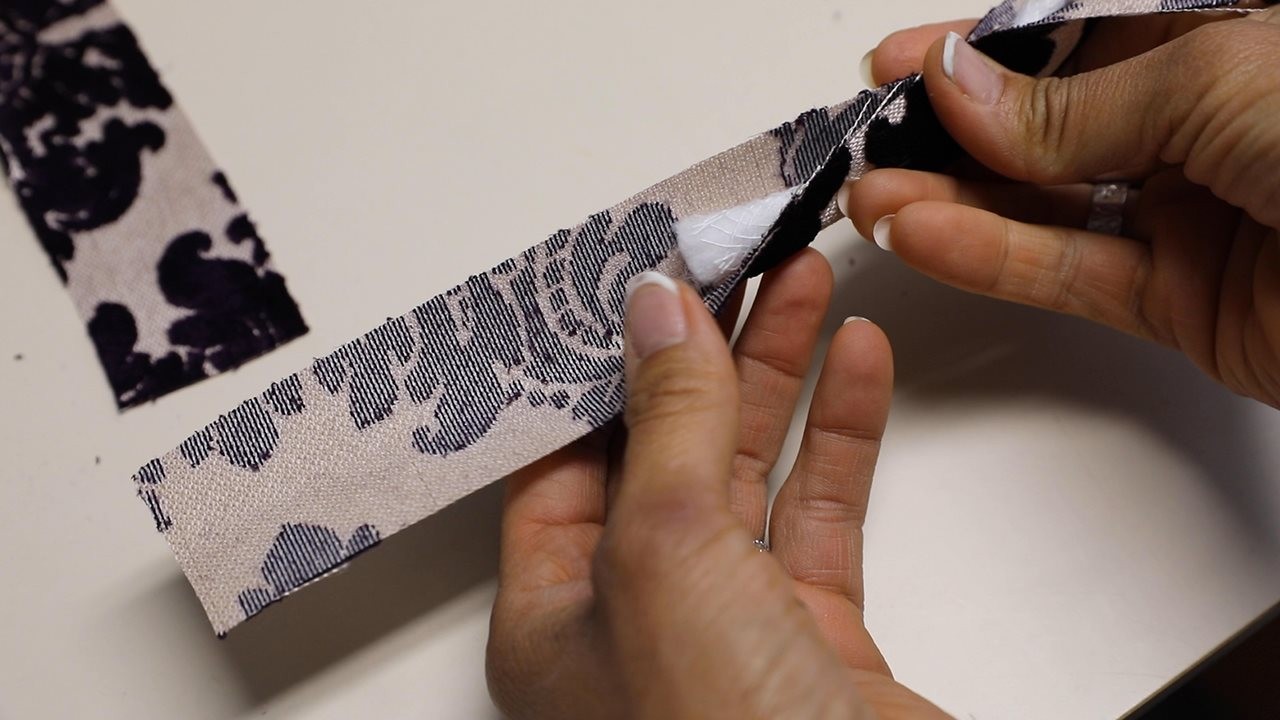
Place the cotton piping into the strips of fabric and sew the piping together. Typically, you should cut the pieces of strips for piping on the bias (which means, at an angle across the grain). In this project the DIYer only bought 1.5 yards of velvet so she cut the strips straight across the grain.
Step 4: Attach the piping
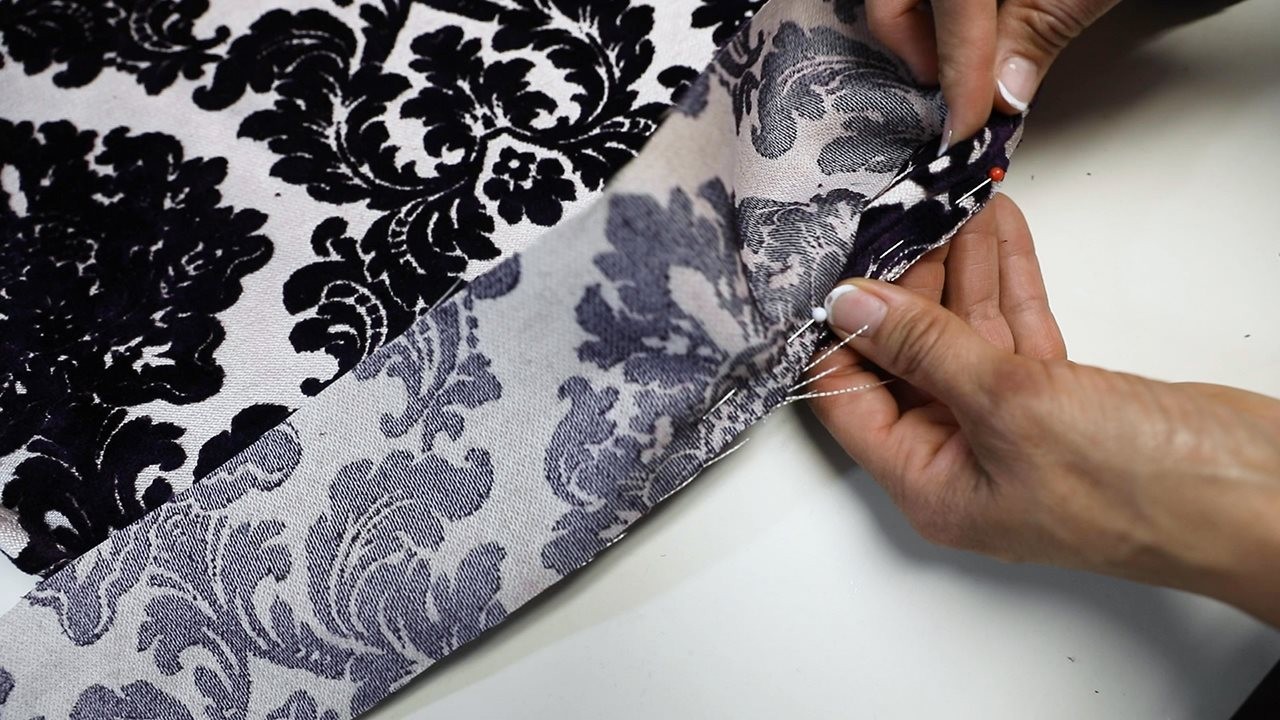
When doing upholstery with piping, the piping has to be sewn into place while sandwiched in between the right sides of two pieces of fabric. In the case of this vintage chair, the piping was sewn between the seat fabric and fabric sides, plus on the top of the chair.
Step 5: Cover the seat with fabric
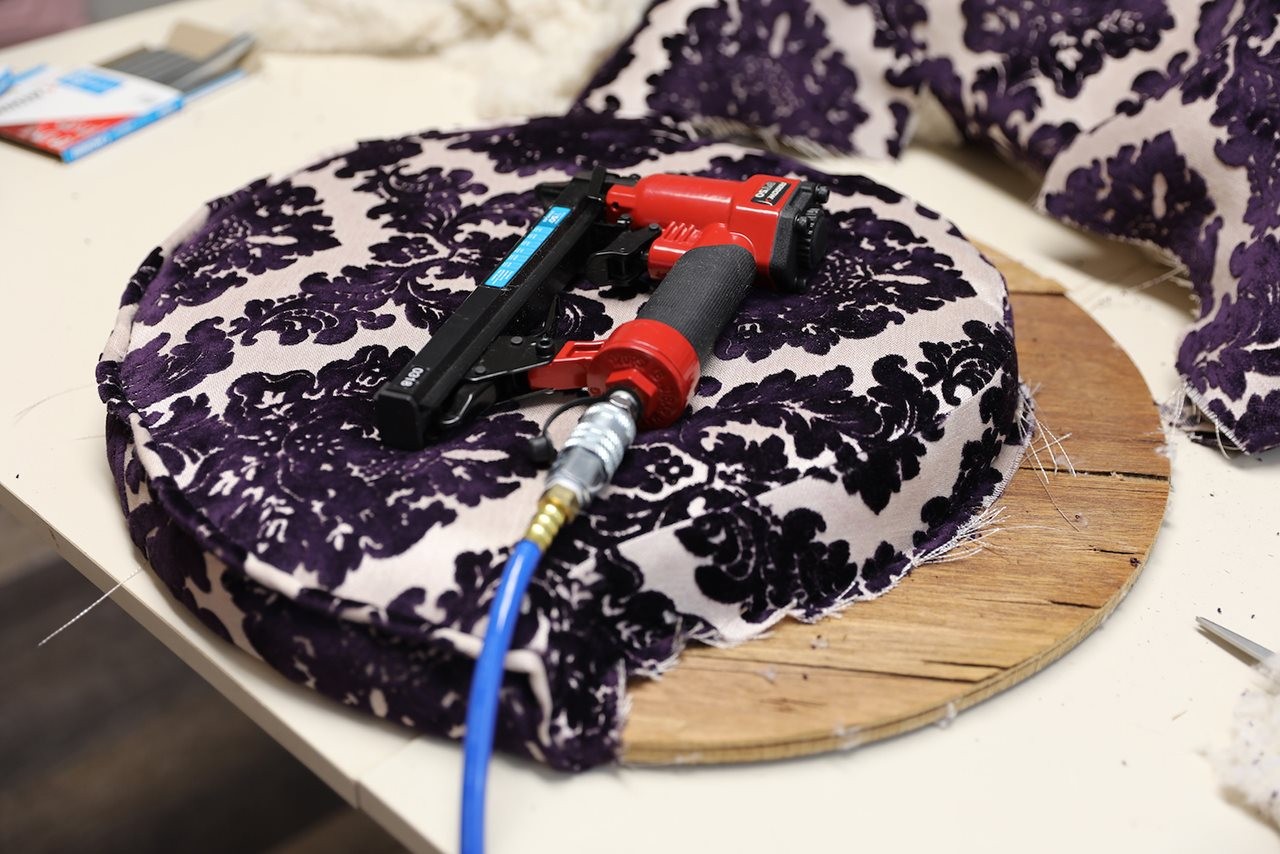
Using the Arrow Fastener PT50 with 1/4-inch staples (you also can use 3/8-inch staples), staple the front of the fabric to the seat board. The cushion inside was pretty flat and worn but was reused in an effort to keep as much of the old materials as possible.
Step 6: Cover the back cushion with fabric
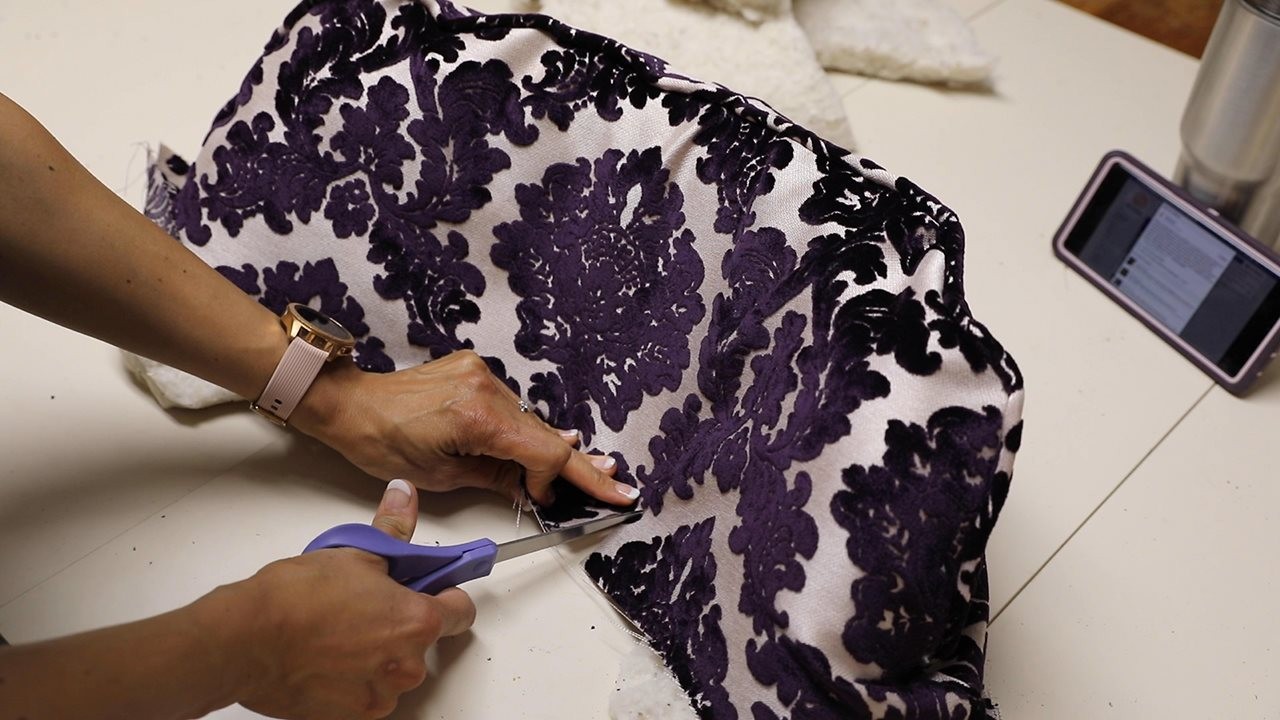
The back cushion was covered and stapled into place, as well. Relief cuts were added to the bottom front so that the fabric could more easily be manipulated.
Step 7: Pull fabric tight and staple.
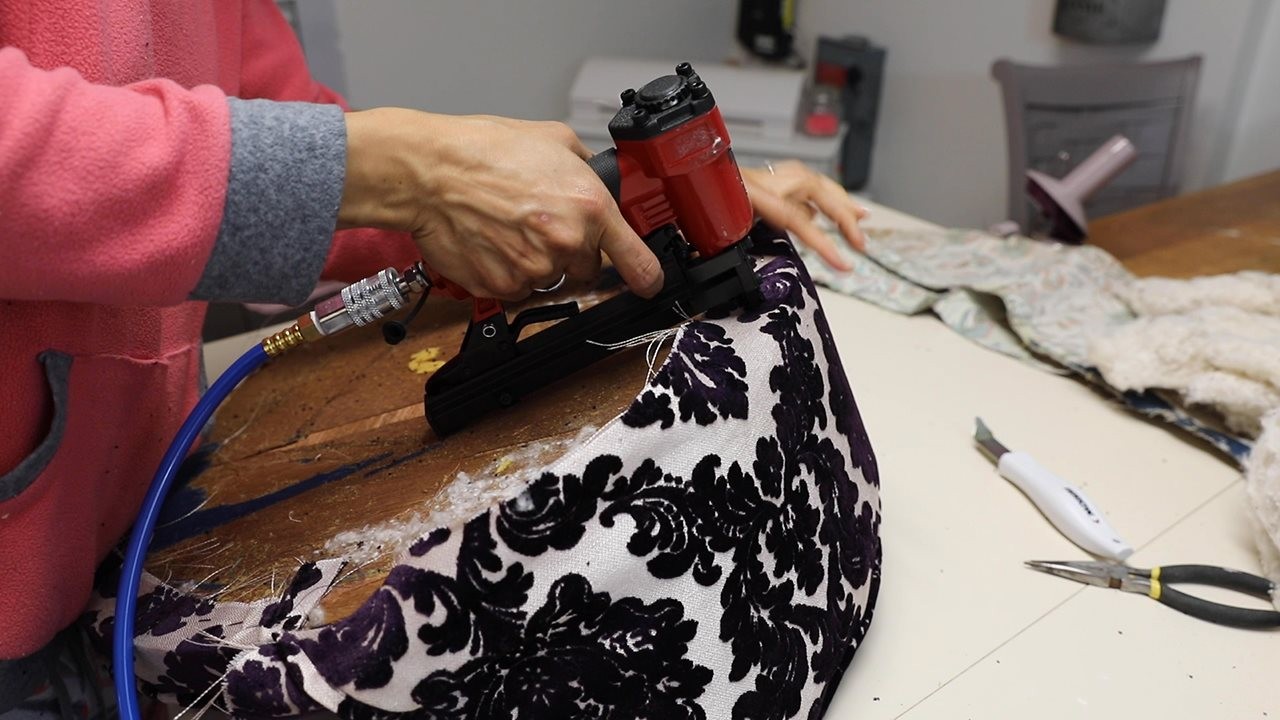
The edges of the fabric were pulled down and stapled into place.
Step 8: Add a Lazy Susan swivel base
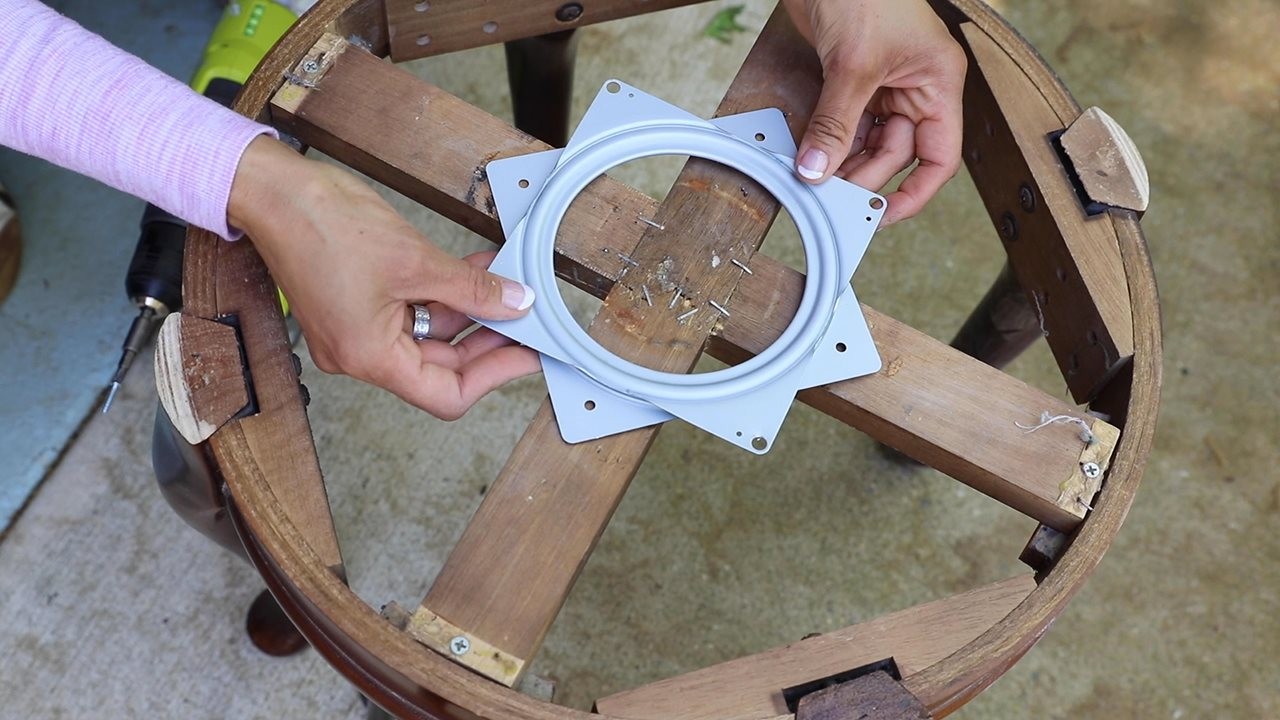
The old base was broken so it was replaced with a new one.
Step 9: Lightly sand the wood
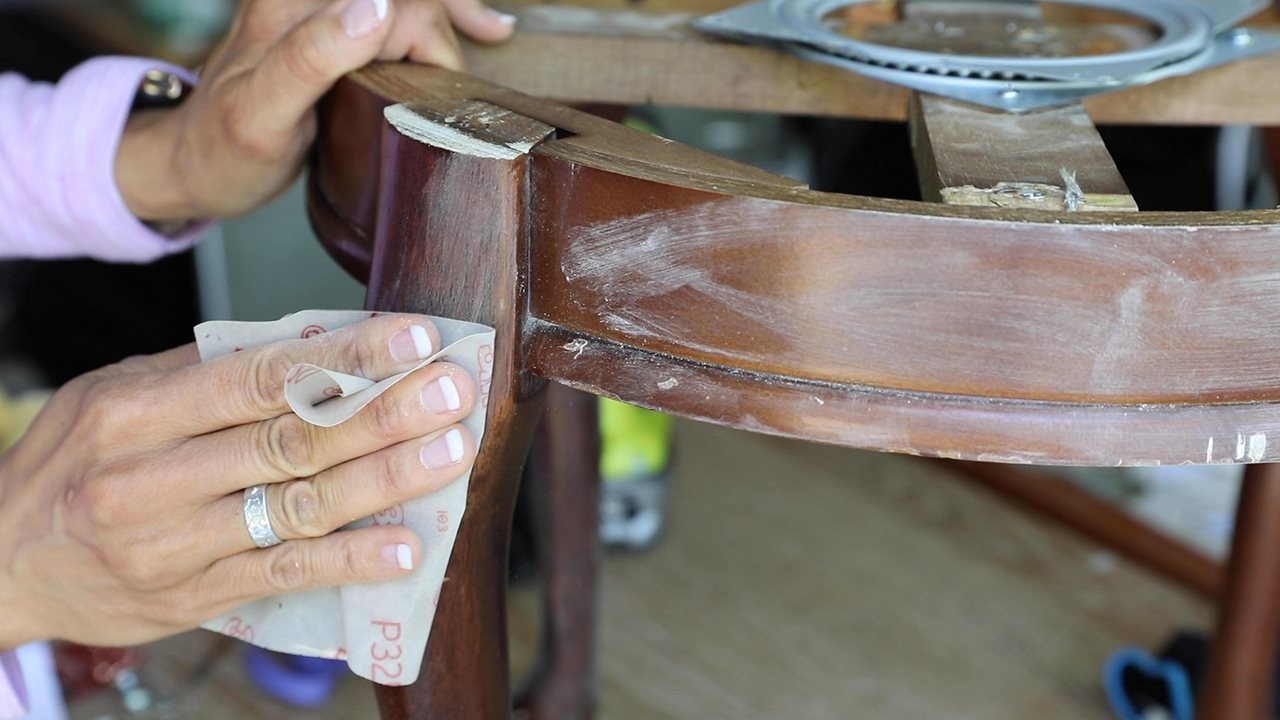
With beautiful wood in pretty good shape, the chair was lightly sanded and wiped clean.
Step 10: Add a coat of Java Gel Stain
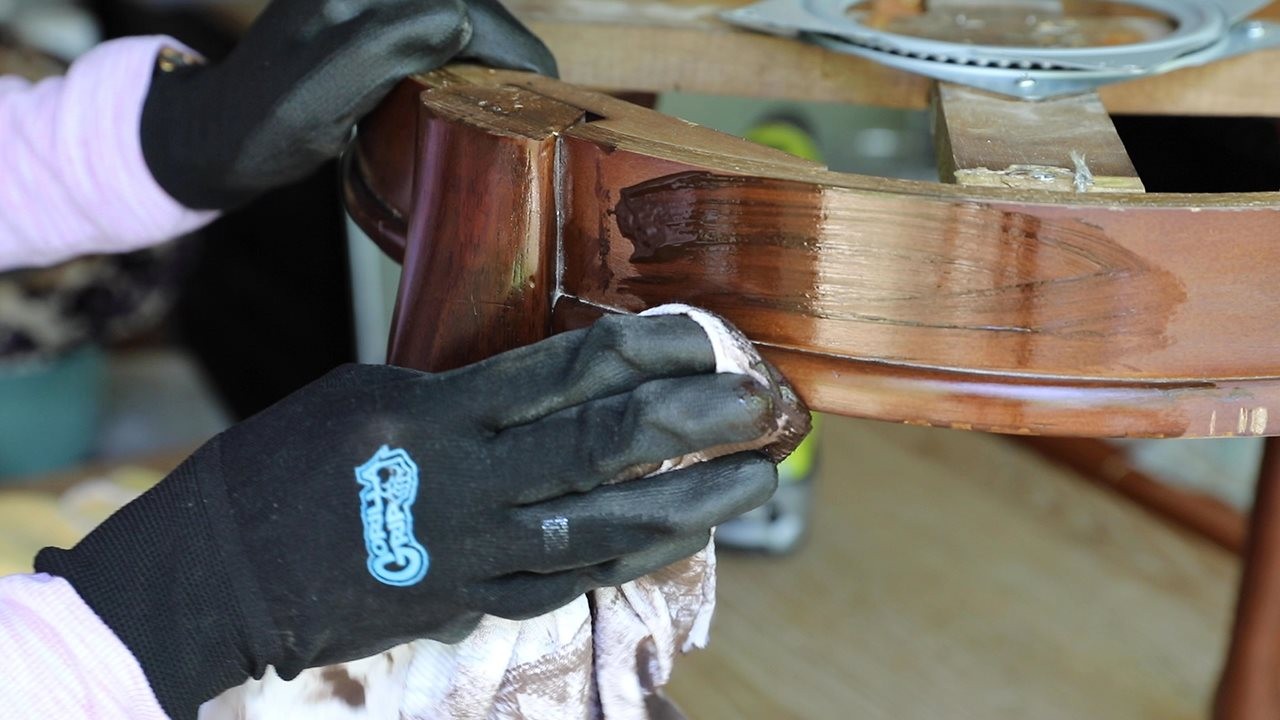
Java Gel is perfect for covering existing wood without having to completely strip the wood, making it look refreshed and new again.
Step 11: Add a top coat
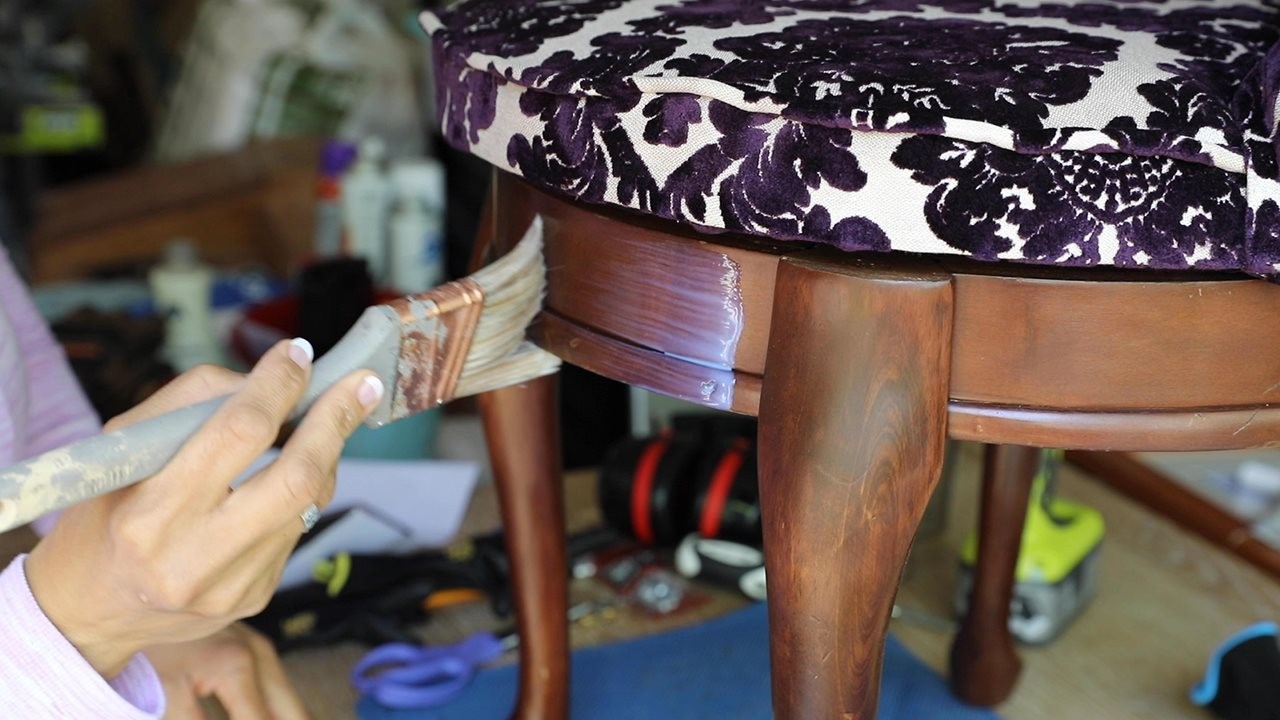
Once the stain was dry, a coat of satin top coat was added to protect the wood.
Step 12: Reattach the seat to the base
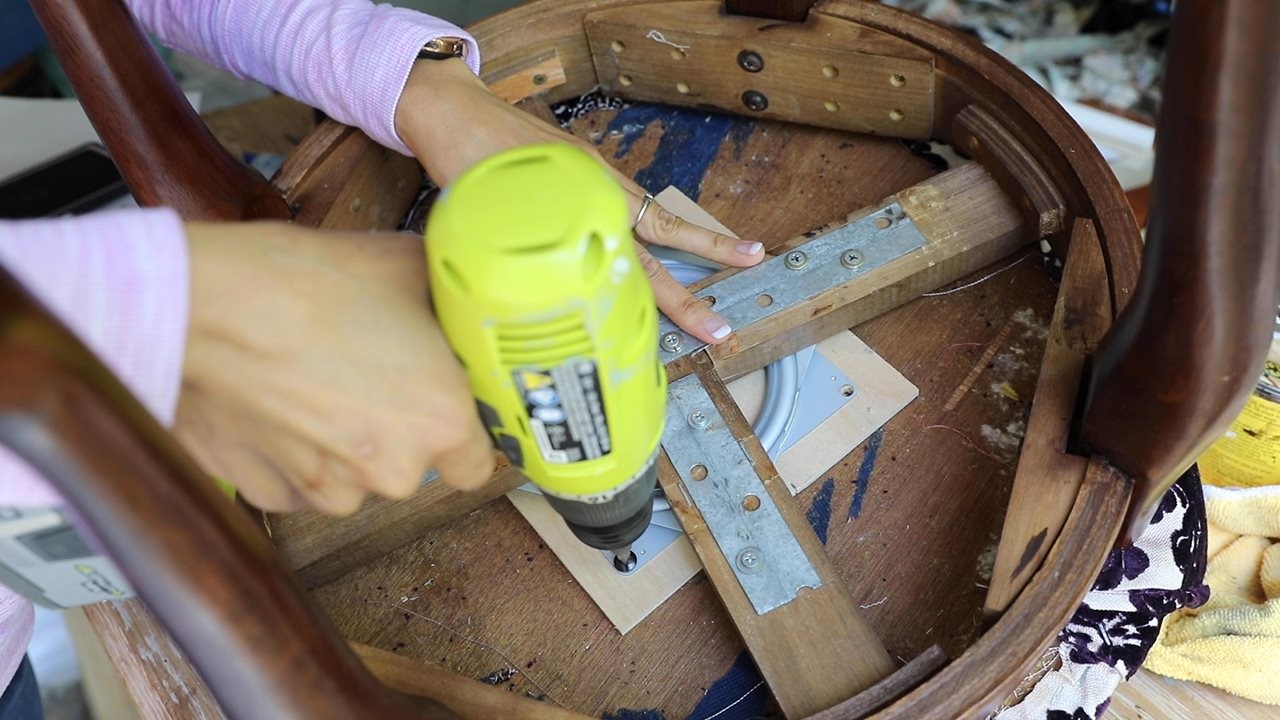
After the top coat dried, the upholstered chair was reattached to the base. The new Lazy Susan needed a bit more clearance, so a 1/4-inch piece of wood was added to the bottom of the seat for additional height for the swivel base.
Step 13: Enjoy!
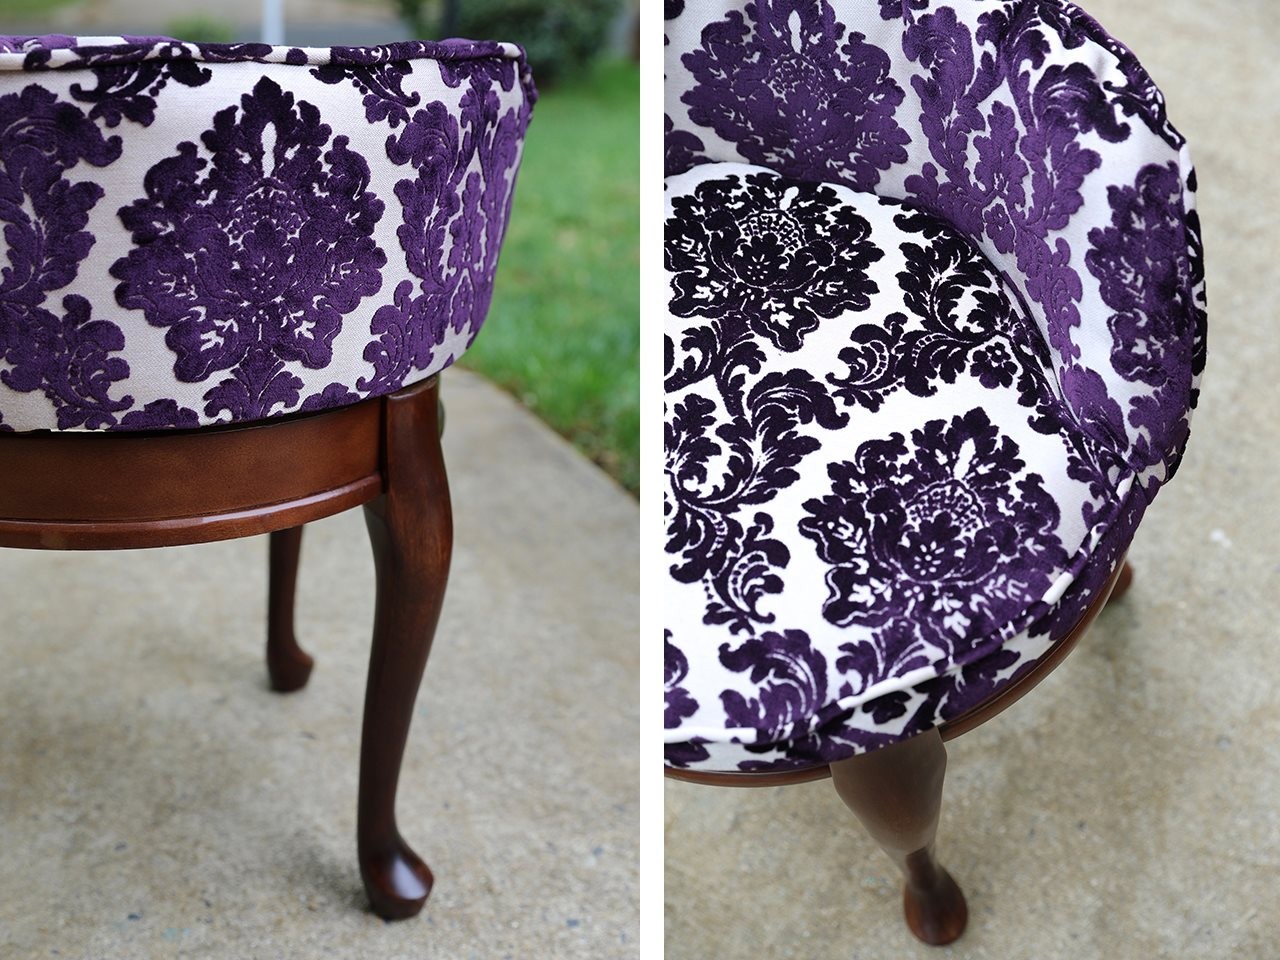
With pops of color and regal tones, this chair would elevate any room. You would never know it started as a cheap thrift store find!
Arrow Fastener is celebrating its 90th anniversary this year! To learn more about the tools in this DIY project and many others that can help make your DIY and crafting dreams a reality, visit www.arrowfastener.com.

