(BPT) – Looking for some fiendishly festive ideas to show your Halloween spirit? Here are a trio of easy projects to get your front porch ready for trick-or-treaters. With the help of your Arrow PowerShot 5700 Forward Action Staple Gun and Nailer along with Arrow’s TR400WS Glue Gun, you’ll achieve just the right spooky effect.
First, a word on safety. While using your tools, wear safety goggles to protect your eyes. To avoid injury to your hands, don a pair of gloves while keeping your hands clear of the stapling mechanism as well as the hot glue.
Some of the supplies needed include:
- Arrow T50 staples
- All-purpose glue sticks
- Mesh wire that fits the height of your porch
- Drill with bit
- 12”x18” foam sheets
- 2 6-inch pieces of 20-gauge wire
- Flat black spray paint
- Cheesecloth or linen mesh
- 4 screw eyes
- 2 screw hooks
- Birch plywood
- Wooden or plastic flowerpot with flowers
- Spooky eyeballs
- Plastic spiders
For a full list of tools and materials, check out the project on ArrowFastener.com.
Project 1: Bats take flight
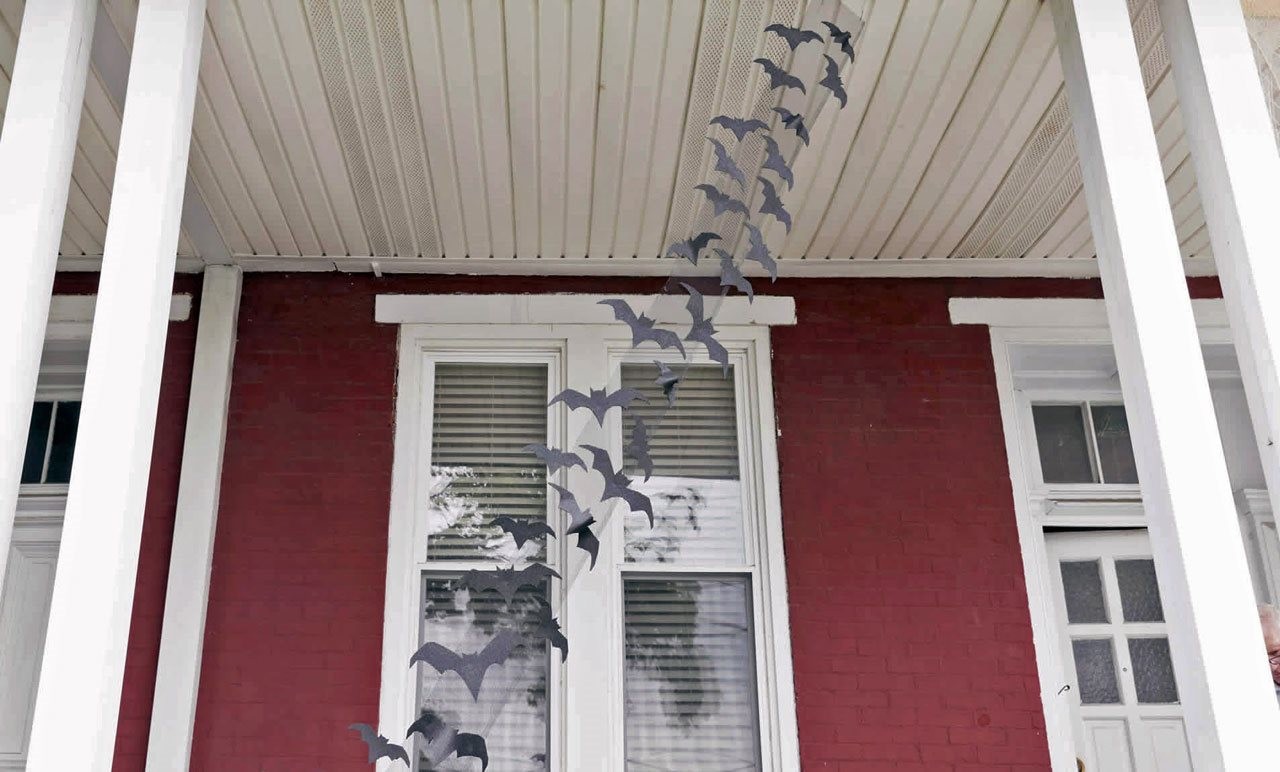
For the first project, create this spooky bat display with foam sheets, wire mesh and a few more simple materials.
Step 1:
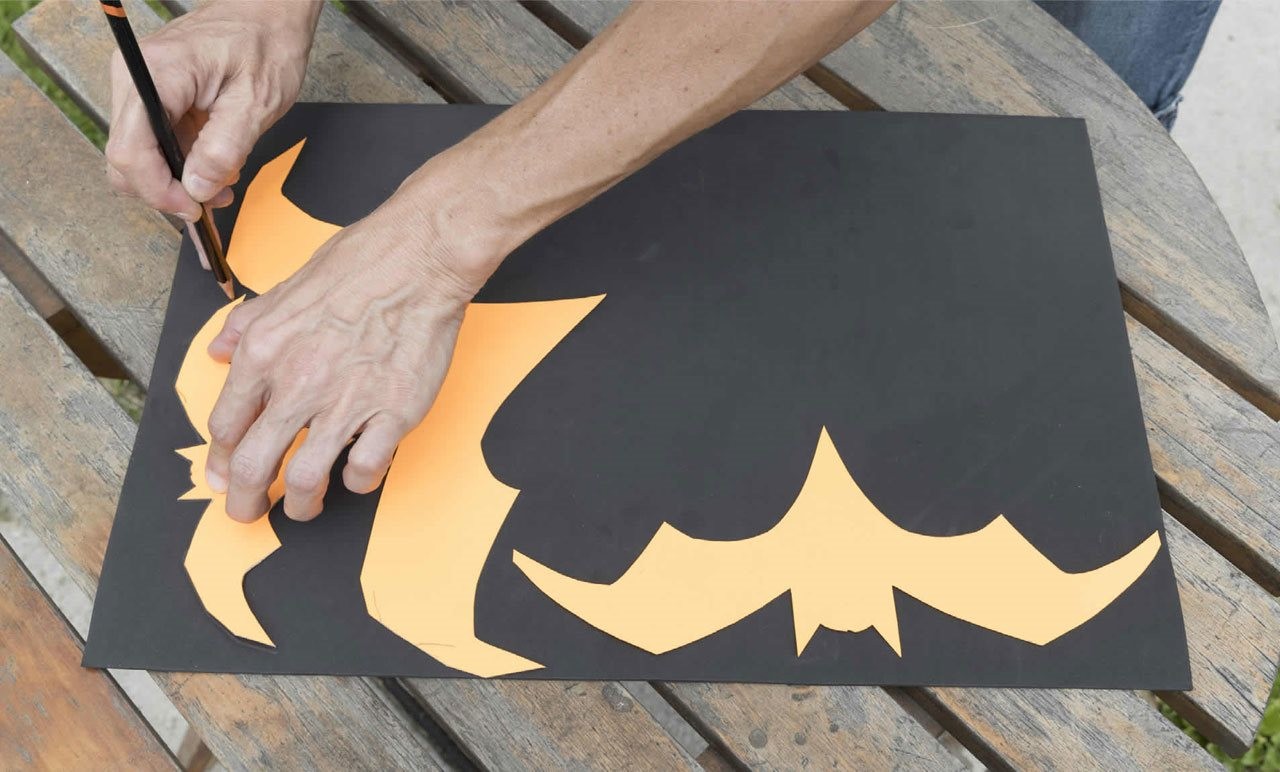
To make spooky bats for your porch, find a bat template online or draw your own. For the best visual effects, use three or so different sizes. Trace the bats onto your foam sheet until you have the desired number of bats. (We used 30 bats.) After cutting out your bats with scissors, set aside the foam scraps for later.
Step 2:
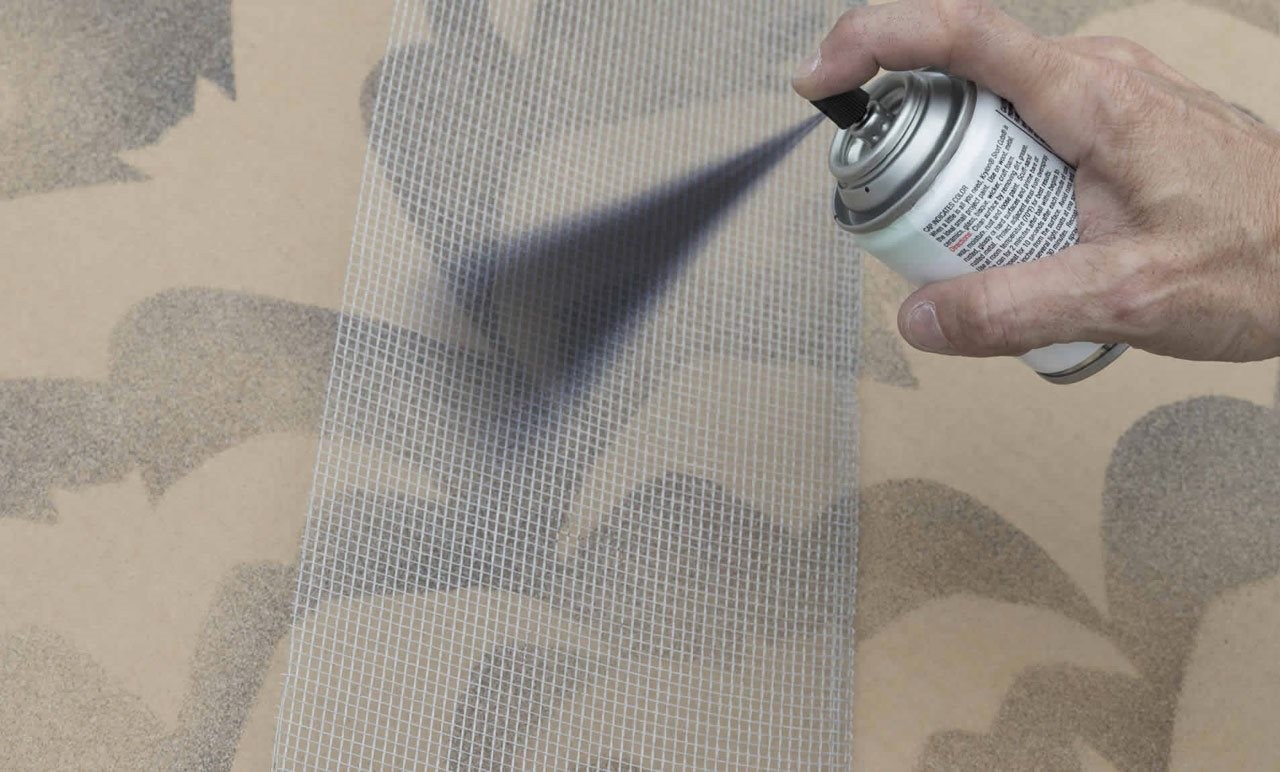
Determine the needed length of your wire mesh by measuring your porch from ceiling to floor, and cut it to size. Then, paint one side of the mesh with the flat-black spray paint. Doing this makes the mesh less visible at night, so it appears your bats are flying through the porch!
Step 3:
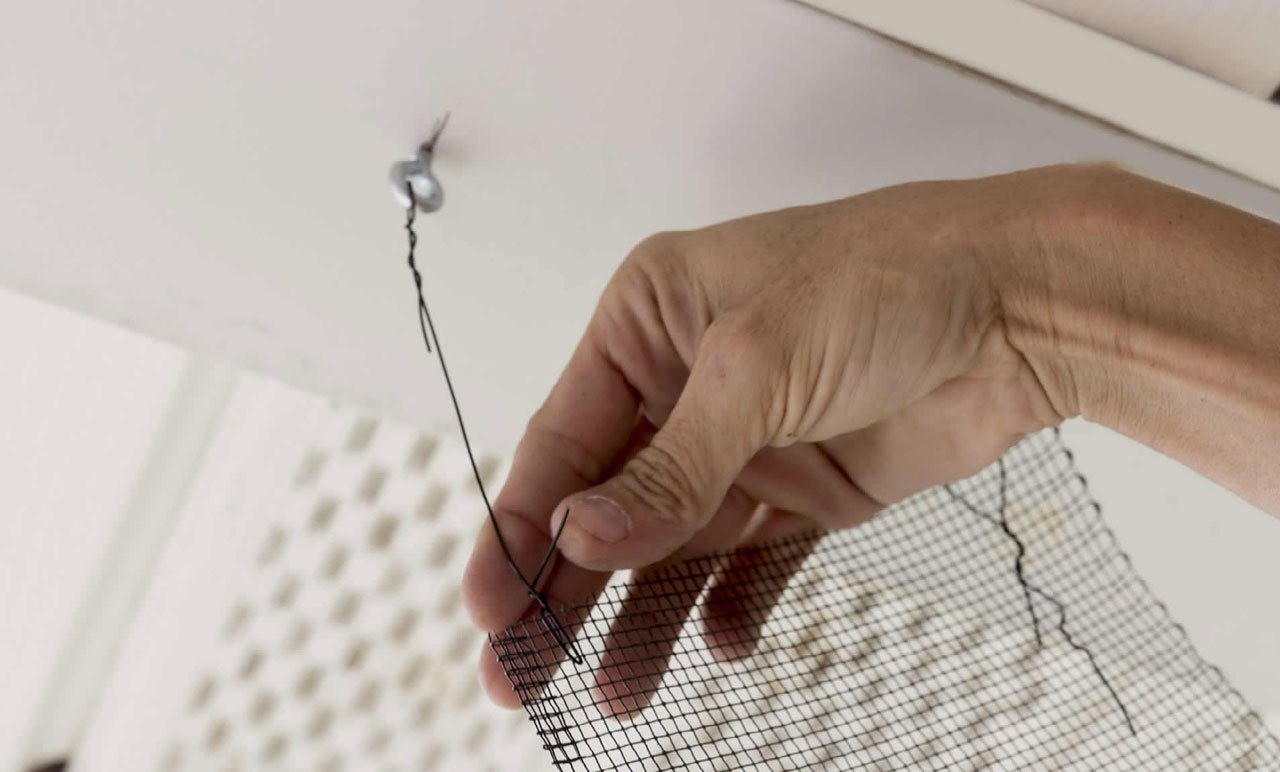
To hang your wire mesh, drill two holes in the ceiling and insert your two screw eyes. Then, string the 20-gauge wire through one end of the wire mesh, string the other end through one of the screw eyes, and twist to secure. Repeat for the second screw eye.
Step 4:
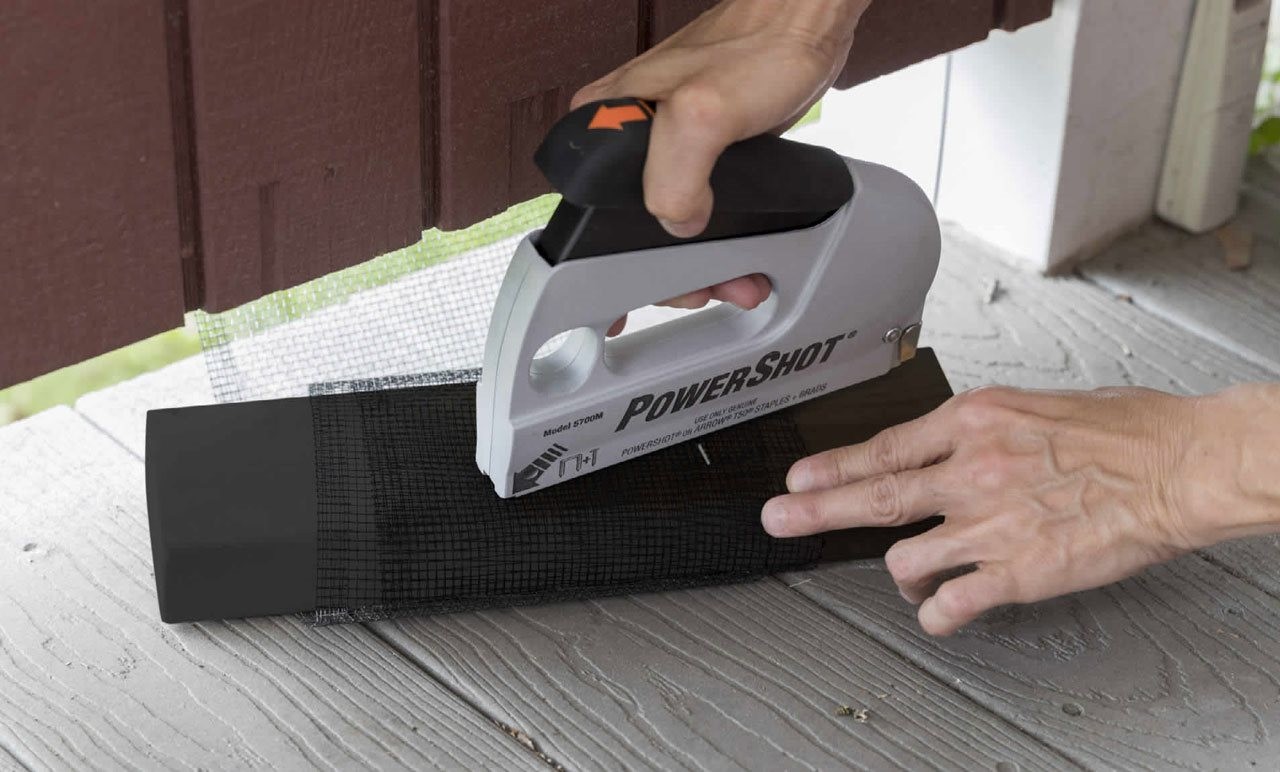
Get your wire mesh into position. We suggest making a diagonal line from the top of the porch to the bottom. Then, secure the bottom of the mesh to a length of a 2×4, using your Arrow 5700 PowerShot staple gun and staples.
Step 5:
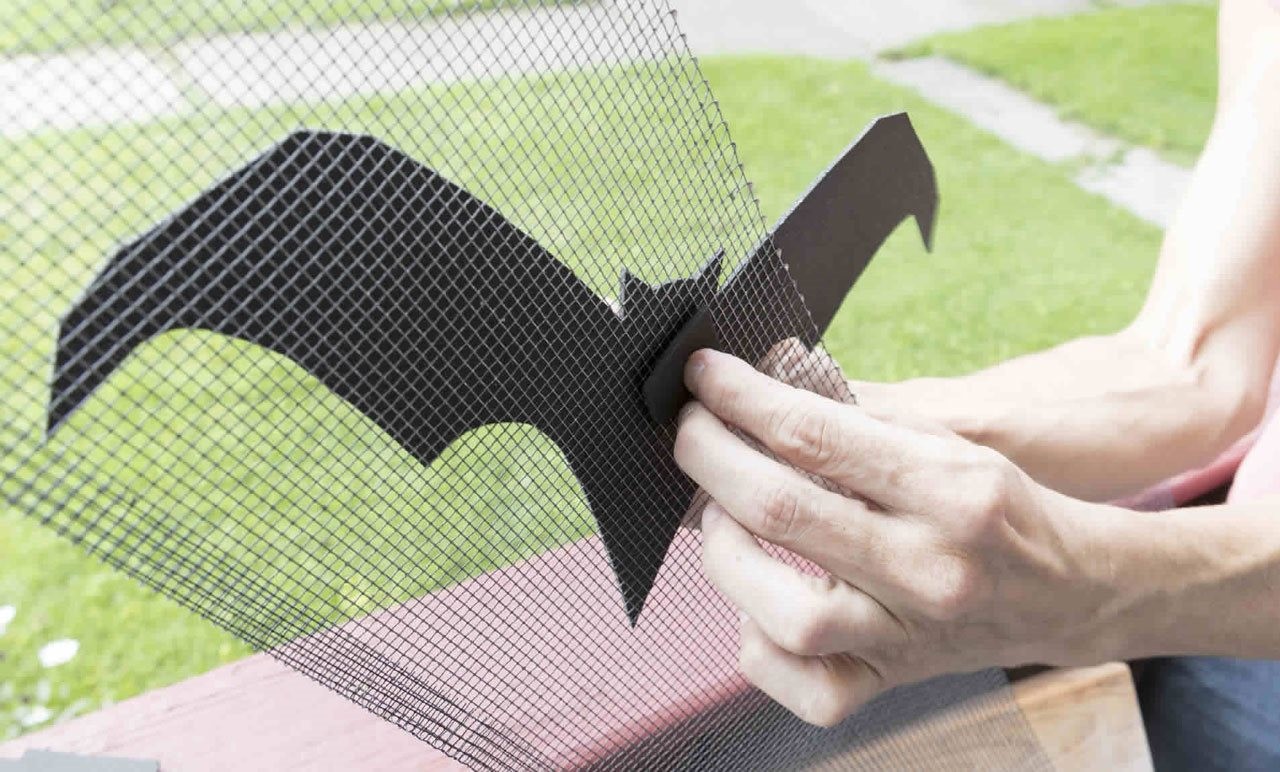
Let the bats take flight! Take a piece of scrap foam that’s smaller than the bat, and dab it with glue from your TR400WS glue gun. Position a bat on one side of the mesh and place the scrap foam with the glue on the opposite side. Press and hold until the glue cools. Repeat until all your bats achieve takeoff into the night sky!
Project 2: Spiderweb entryway
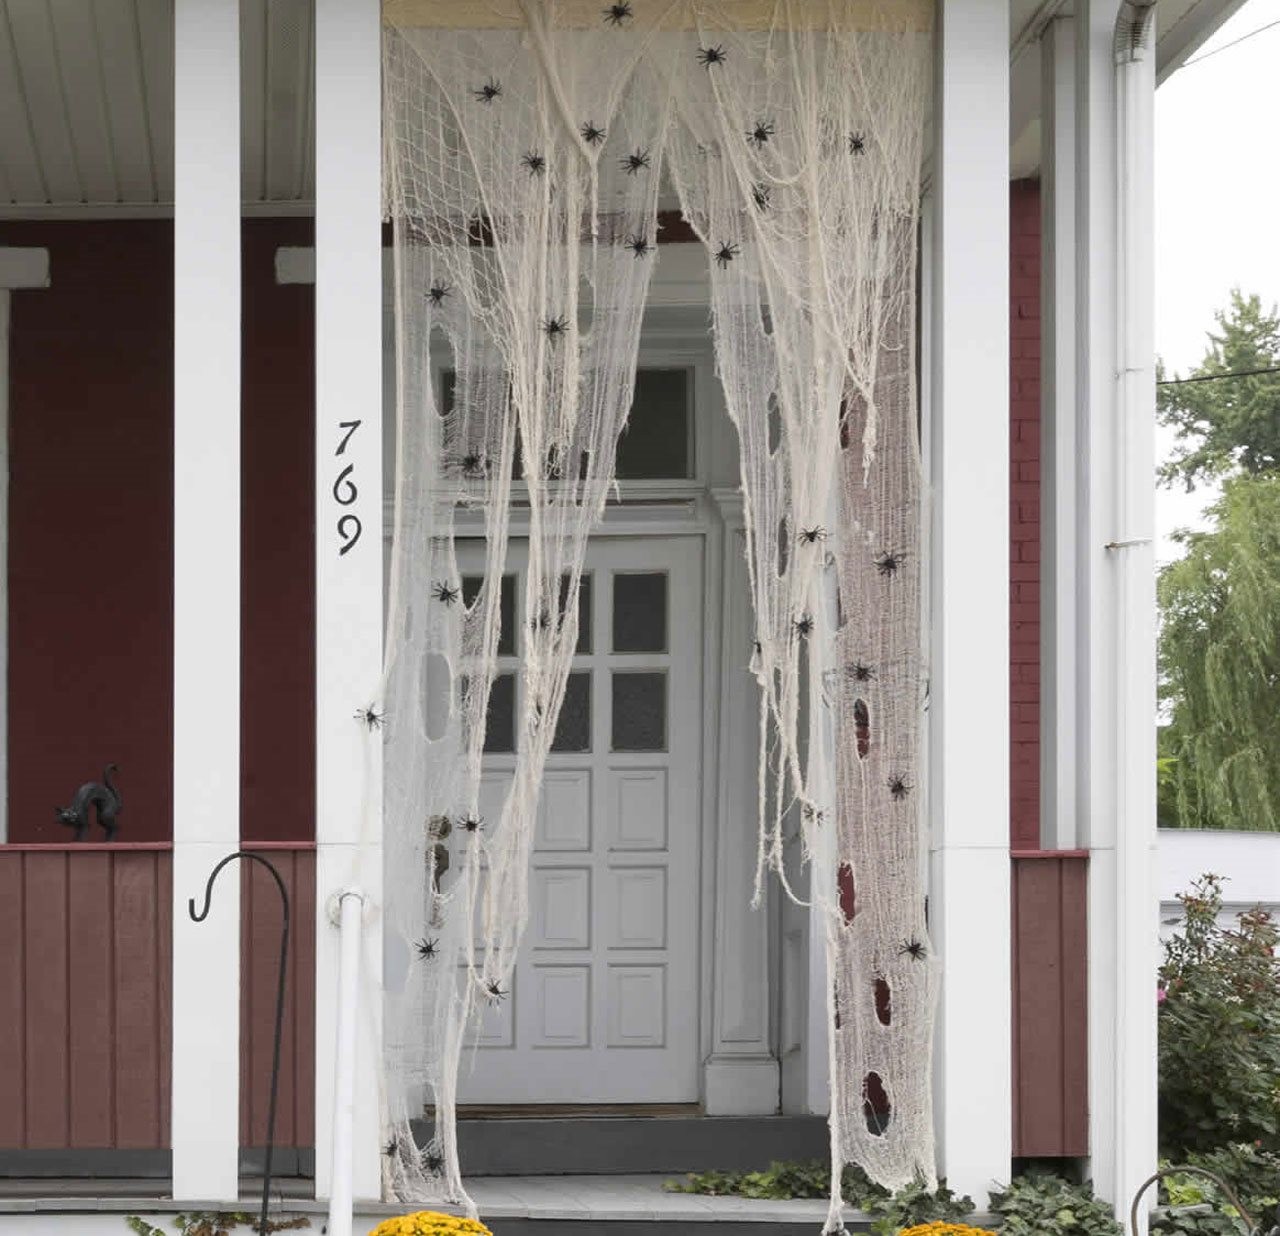
For the second project, we’ll prepare a web for our spider friends to greet your visitors.
Step 1:
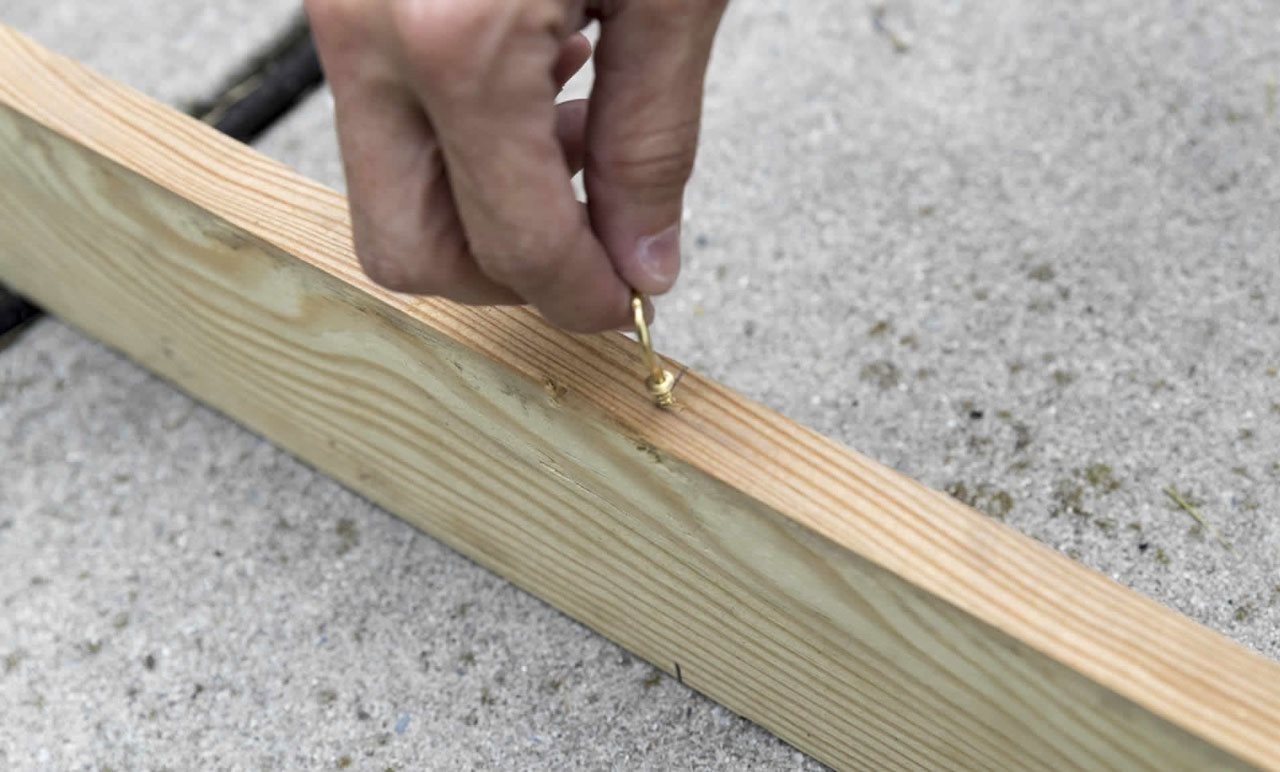
Start by measuring the width of your entryway, and cut your 1×4 board to length. On the skinny side of the 1×4, measure and mark 12” from each end, drill holes and install two screw eyes. On the ceiling of your entryway, measure and drill holes 12” from each end and install screw hooks.
Step 2:
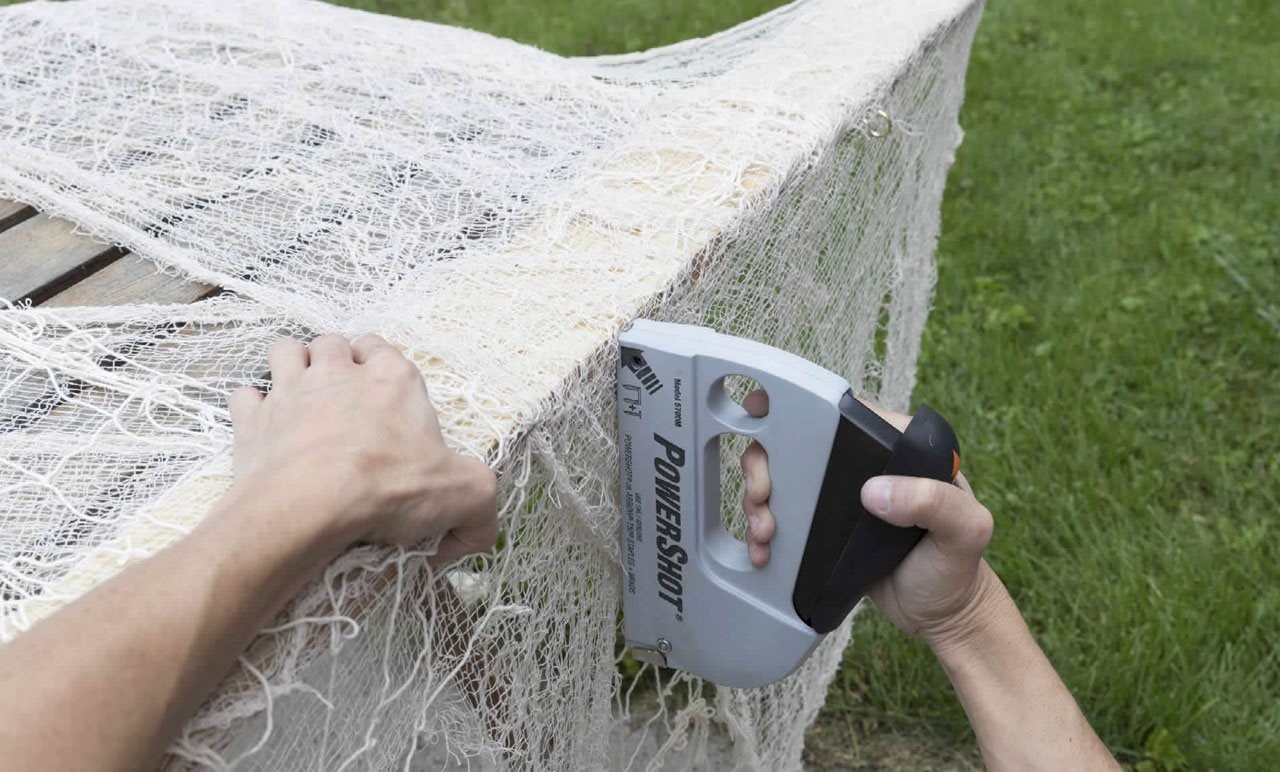
To install the webbing, place the 1×4 with hooks on a flat surface. Position your linen or cheesecloth mesh over the board and secure with the staple gun. Continue fastening until you have all the webbing you need. Then, hang the 1×4 from the screw hooks on your entryway, letting your web drape down. To heighten the spooky, spiderweb effect, use scissors to create holes in your cloth.
Step 3:
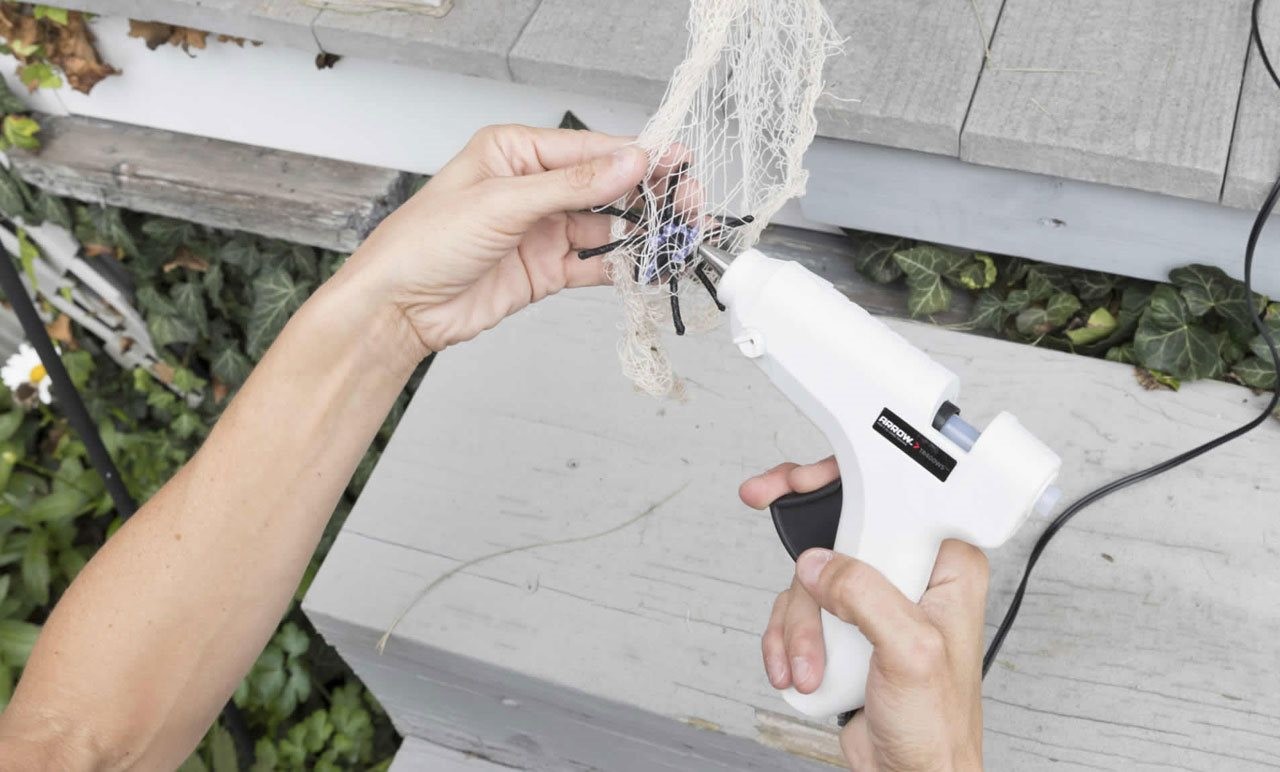
Now, let your 8-legged friends scurry on their web! Use your glue gun to secure your plastic spiders to the cloth. Remember, the more you add, the spookier your porch will feel!
Project 3: Someone’s watching you!
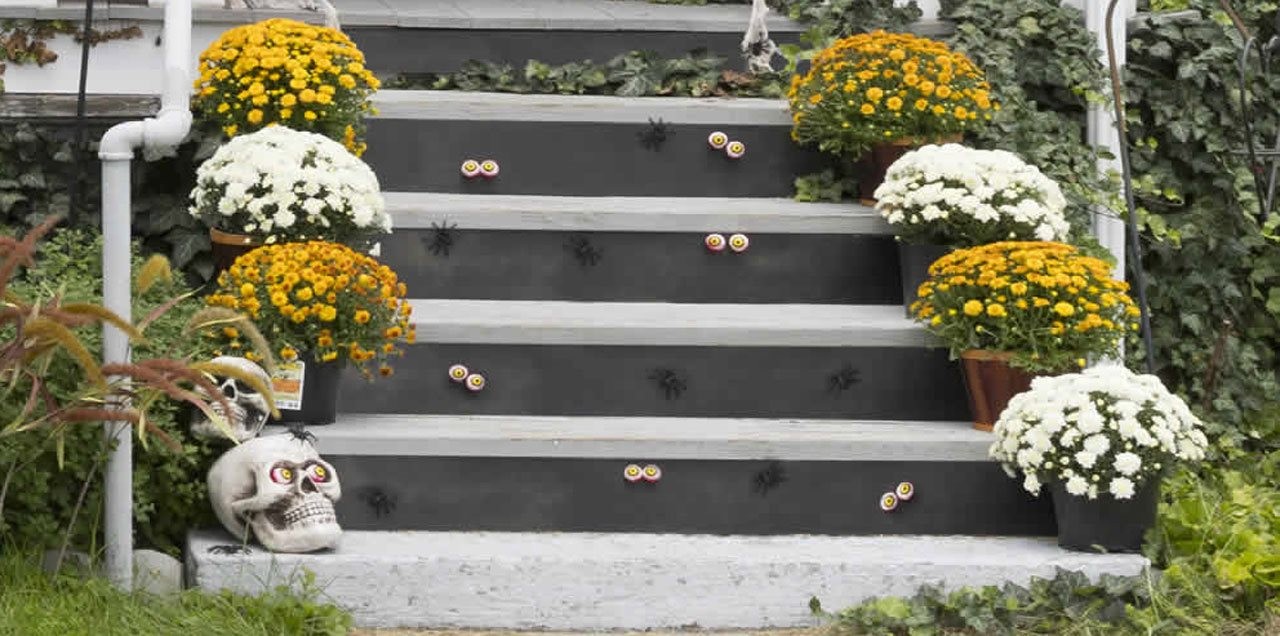
For the final project, create a “haunted cellar” effect on your stairway with spooky eyeballs displayed on a birchwood backdrop.
Step 1:
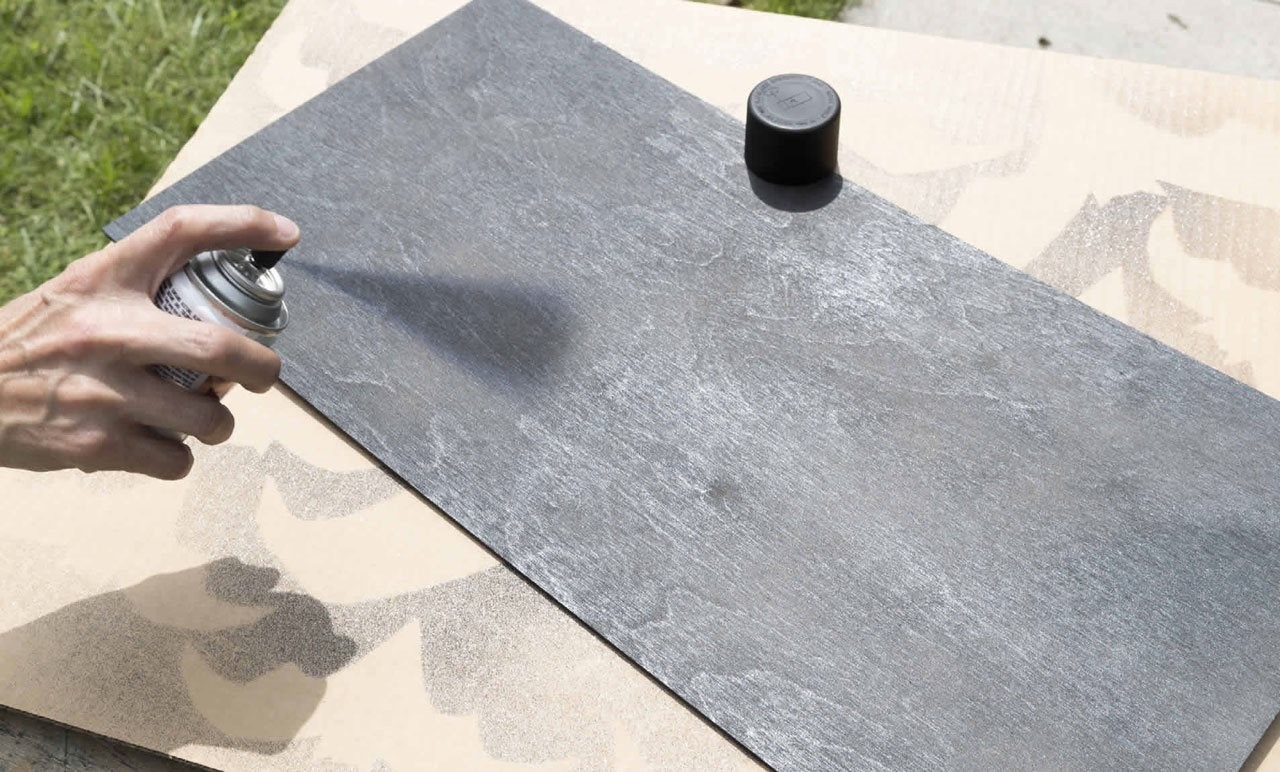
Start by measuring the length and width of your back step, and cut your birch plywood to those dimensions. Then paint your plywood with the flat black spray paint, and allow to dry.
Step 2:
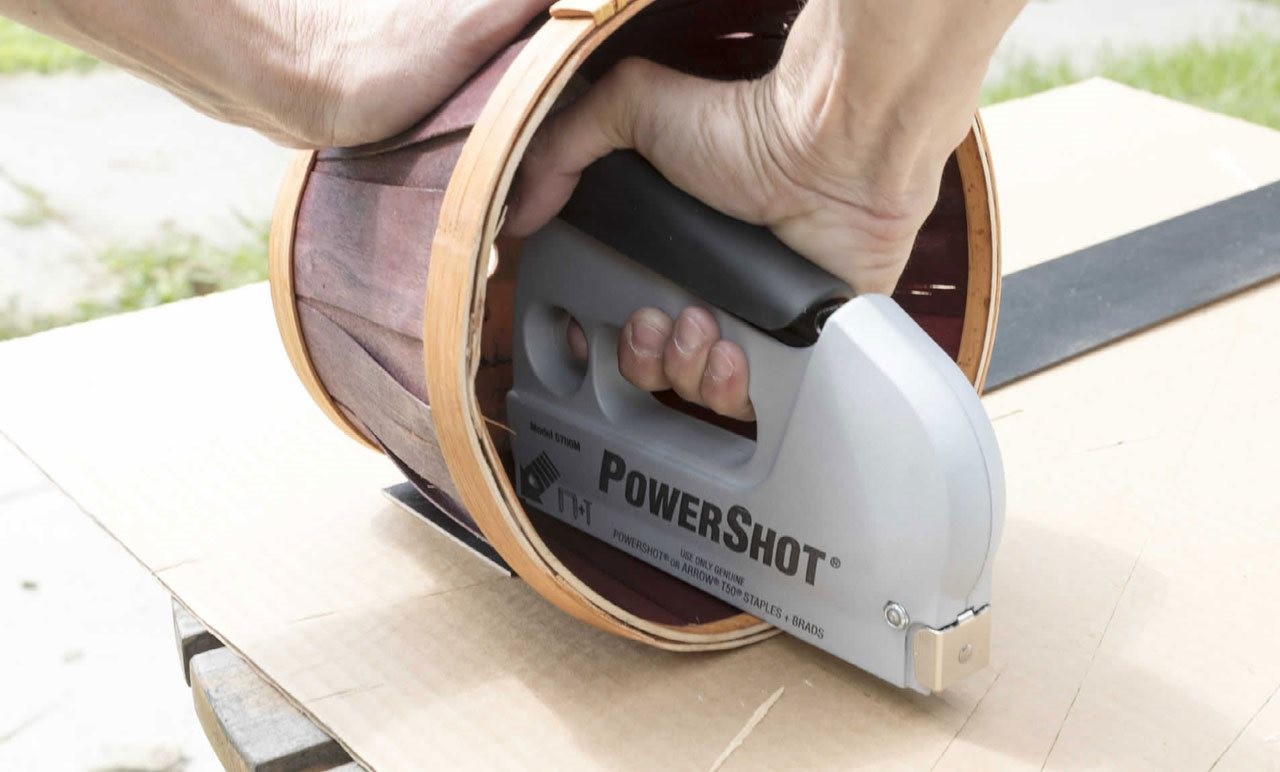
Using the PowerShot, secure the plywood to the outside of the flowerpot as shown. Place the plywood against the back step, painted side out, flowerpots close to the edges of the step. To avoid a tripping hazard, make sure the plywood is snug under the lip of the stair.
Step 3:
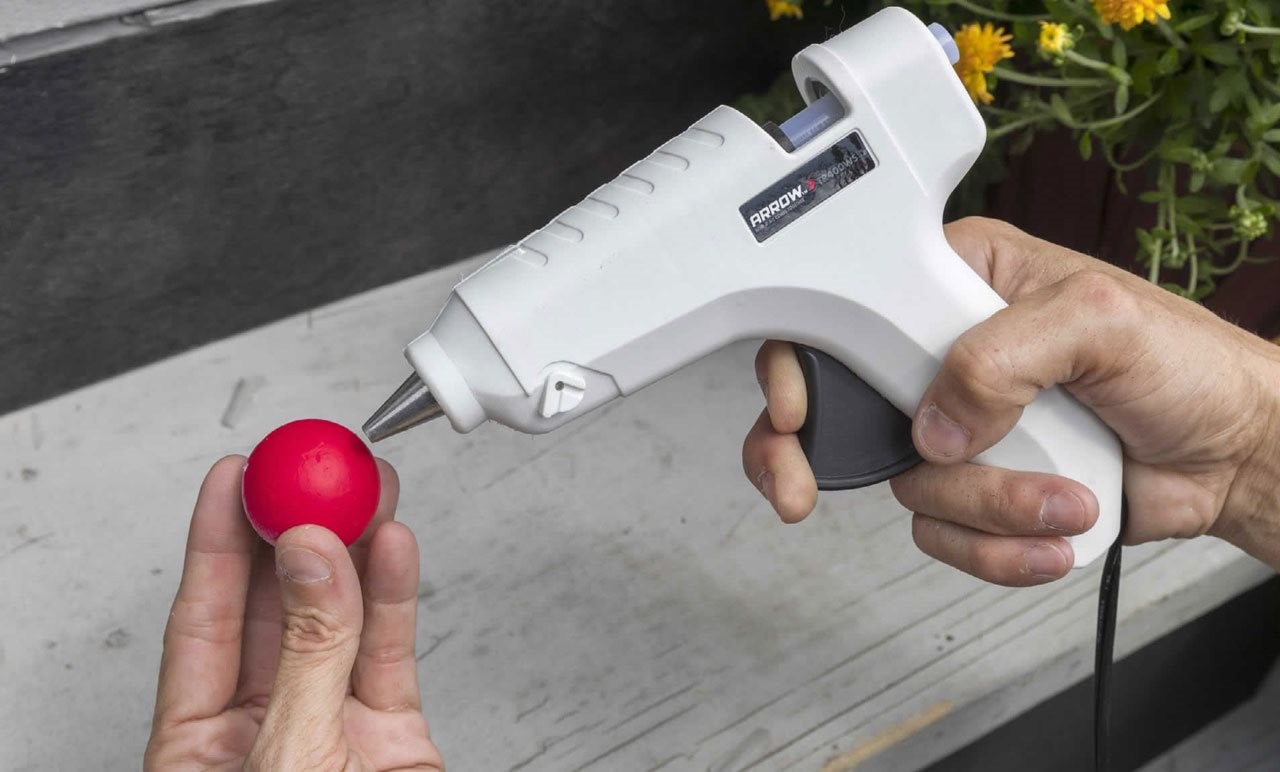
Using the TR400WS, attach the pairs of spooky eyeballs to the plywood. Each step will leave trick-or-treaters with that feeling they’re being watched! If you have a few extra spiders, feel free to attach some of those as well.
The spooky transformation is complete!
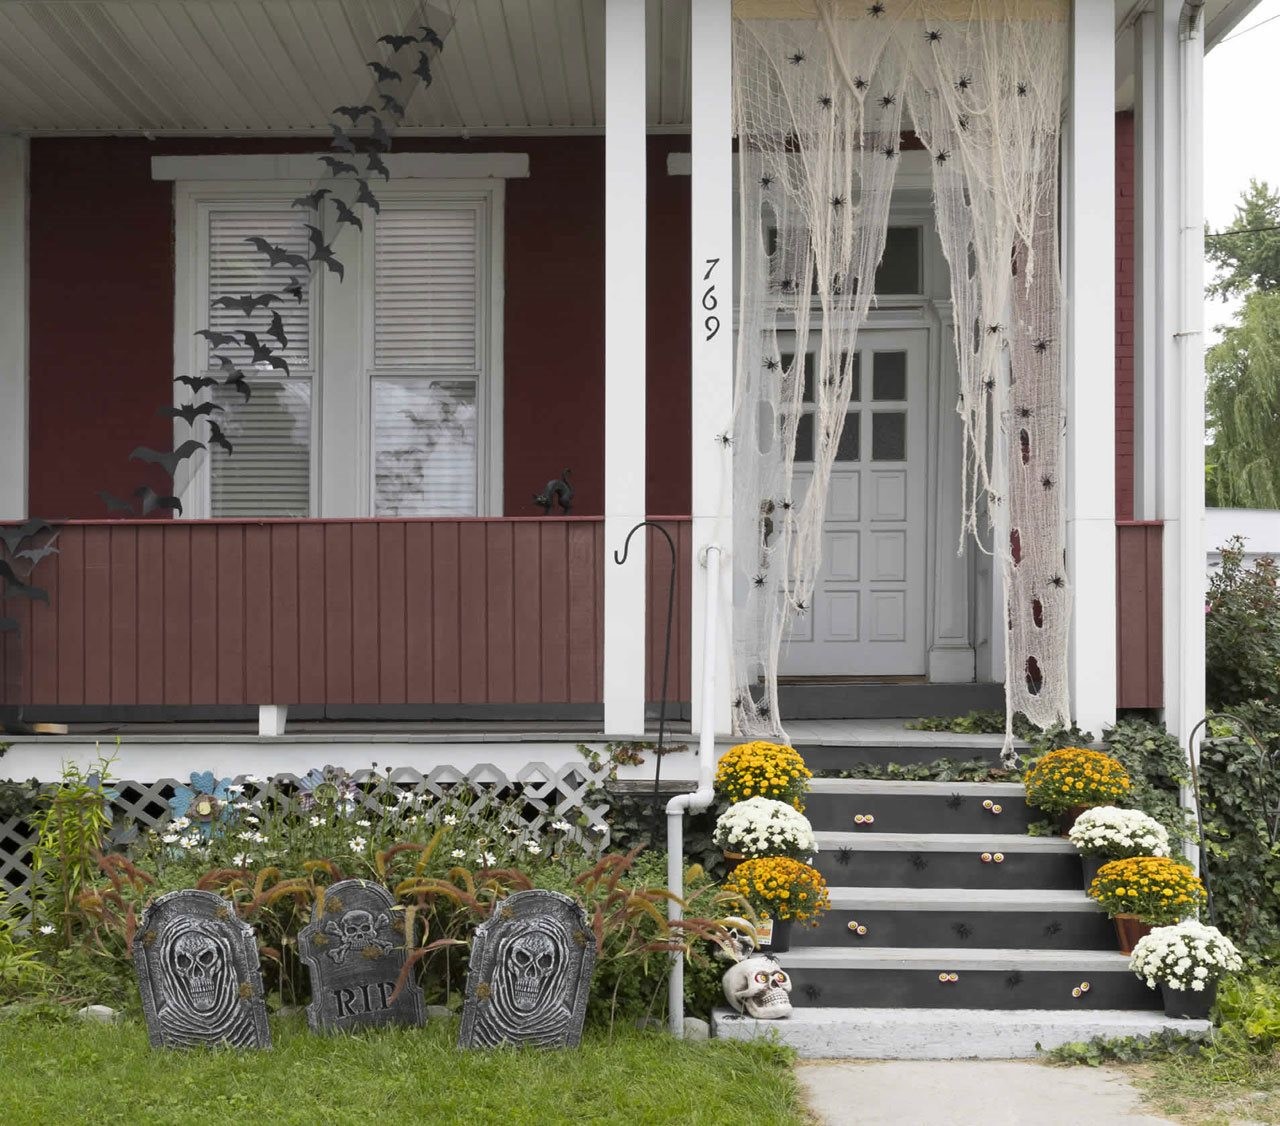
Boo! Your porch is ready to thrill and delight ghosts and ghouls out for tricks and treats on Halloween night!
You can’t do the holidays without Arrow. To learn more about the tools in this DIY project and many others that can make your holiday dreams into reality, visit www.arrowfastener.com.


