When we built our home 2 years ago we were overwhelmed with the amount of decisions and choices needed to be made for our kitchen remodel – and not to mention the price tags associated with the upgrades we were looking for. My dream kitchen consisted of having stacked cabinets throughout, however our budget didn’t agree with that dream. But when I learned that our builder supplied Timberlake cabinets, which is sold through The Home Depot as American Woodmark, I was ecstatic knowing that I could purchase them at a later date to save money!
The Before
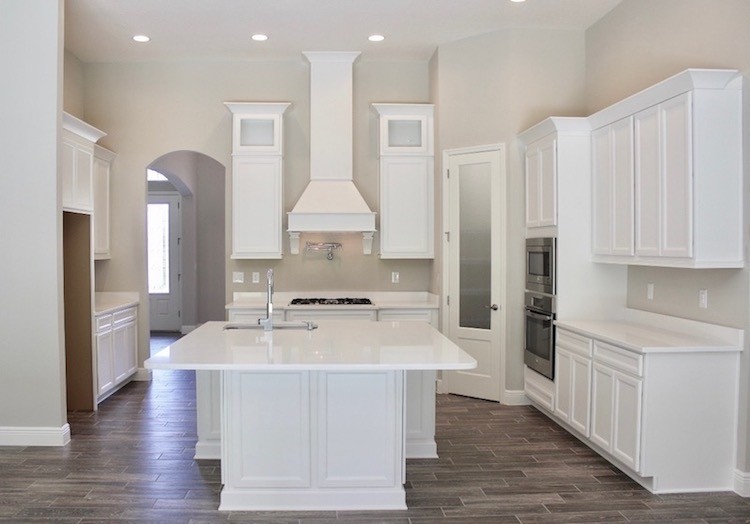
This is our kitchen as soon as we closed on our new home and a space where I saw potential for so much more. My goal was to add stacked cabinets on the left and right sides of the kitchen to match the ones flanking the hood in the center.
New American Woodmark Kitchen Cabinets
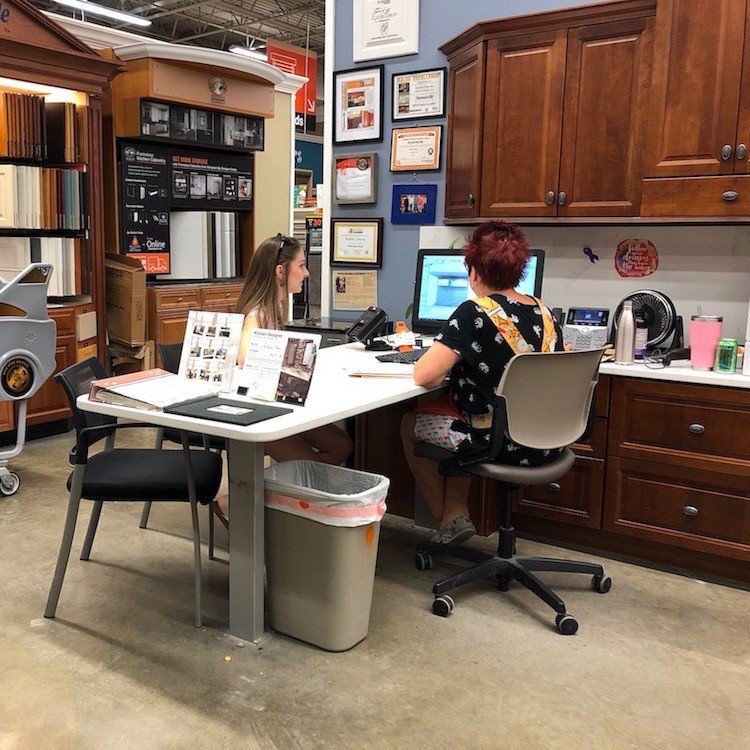
I went to our local Home Depot for a free in-store consultation with a kitchen designer, and worked with Robin (the most fabulous kitchen designer) to help place my order for my new upper cabinets. I provided her the measurements of my existing cabinets and she was able to find the matching 18” stacked uppers for me. Currently, I have the American Woodmark Glen Ellen door style in the duraform linen. Robin was able to inform me what fillers, trim and crown molding I would need to complete the project as well. After everything was shipped to my home, it was time for me to install!
Step 1: Remove Crown Molding
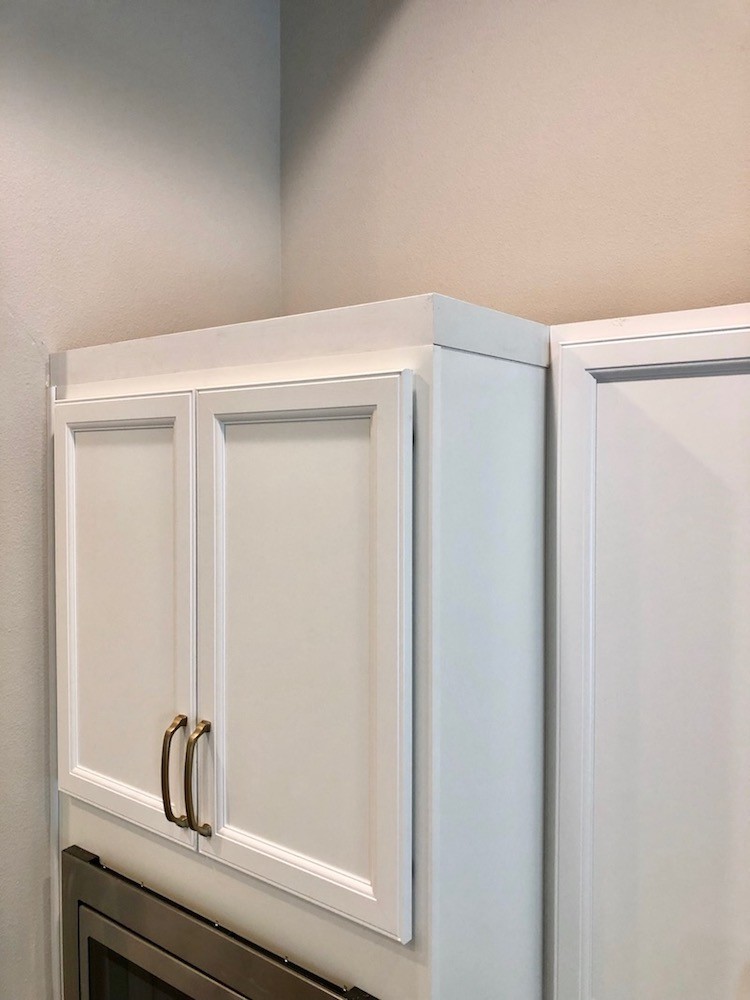
I removed the crown molding from my cabinets as carefully as possible since I hoped to reuse it on the new stacked cabinets at the end. I scored the caulk behind the crown with a razor blade and gently pried the crown away from the cabinets. Fortunately there were only a few small pin nail holes in the cabinets that I patched with white wood filler.
Step 2: Add Trim
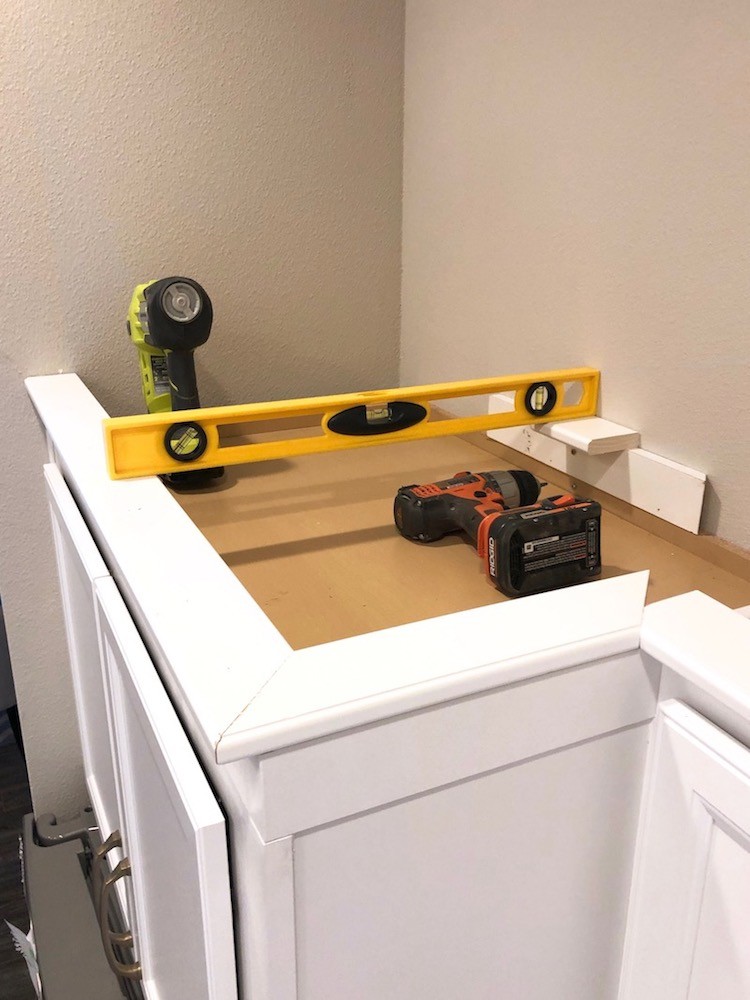
Since I was matching my other cabinets, I needed to add the American Woodmark SMB8 trim that would sit between the original cabinets and the new uppers. I secured the trim in place with wood glue and finish nails into the face frame of the cabinets below. I also built up the back side of the cabinets with the same trim so that the new cabinets would have an even surface to sit on. Making sure things are level is always important!
Step 3: Set New Cabinets
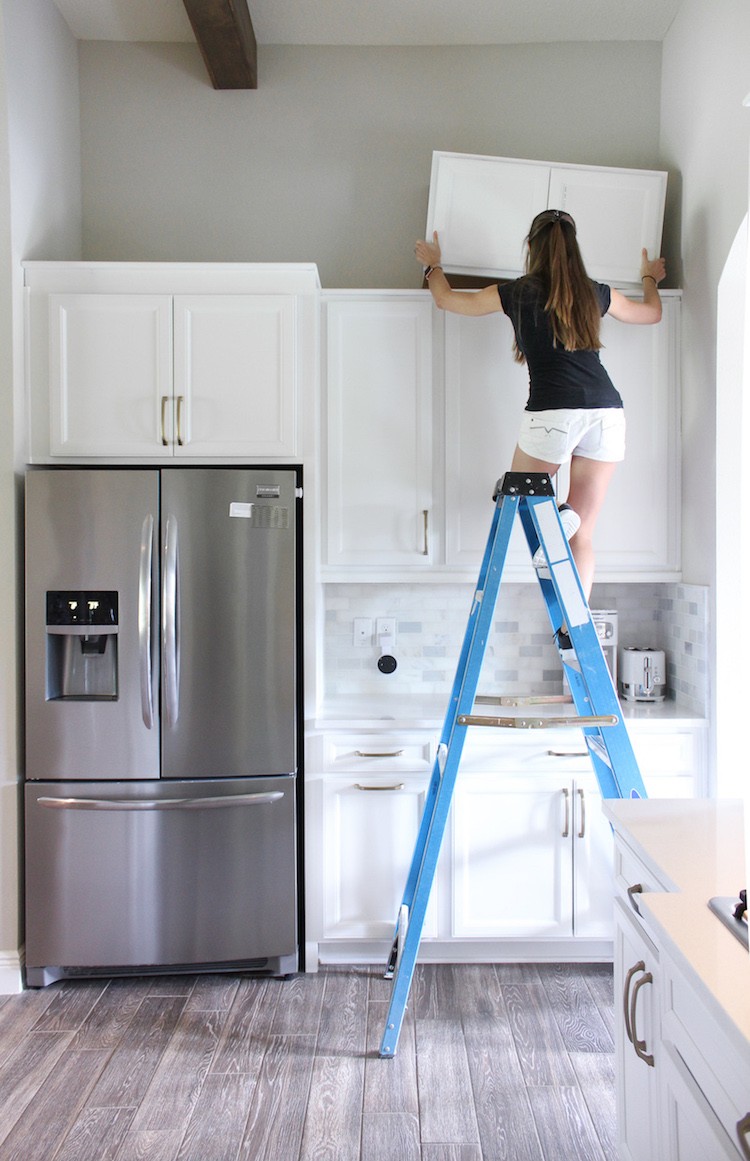
We set the cabinets on top of the new trim and lined them up even with the cabinets below them. I secured them to the wall using my favorite 2.5” screws into the studs.
Step 4: Add Fillers
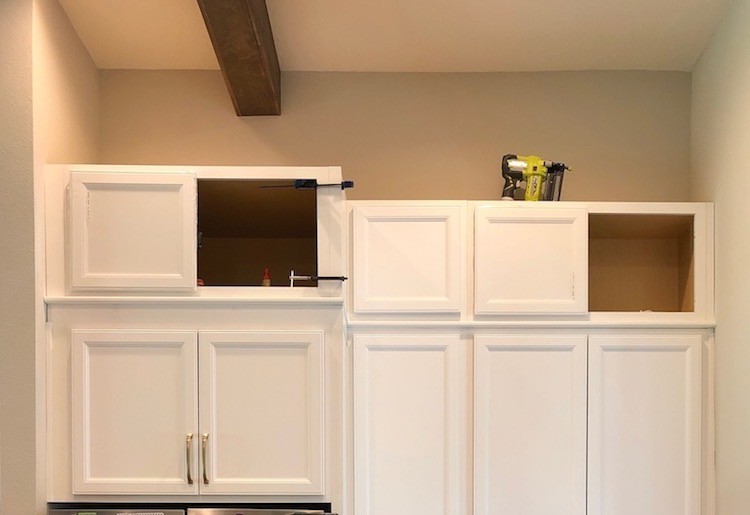
Almost all cabinets will inevitably have fillers to bridge the gaps. I used the UF3 wall filler and cut it to the appropriate lengths and widths to fill the voids where the cabinets met the wall and met each other. Then, I applied wood glue to the fillers before clamping them in place and screwing them to the face frames of the cabinet boxes. I also finished off the look with the SM8 scribe molding along the side edges of the cabinets that the rest of my kitchen also had.
Step 5: Install Crown Molding
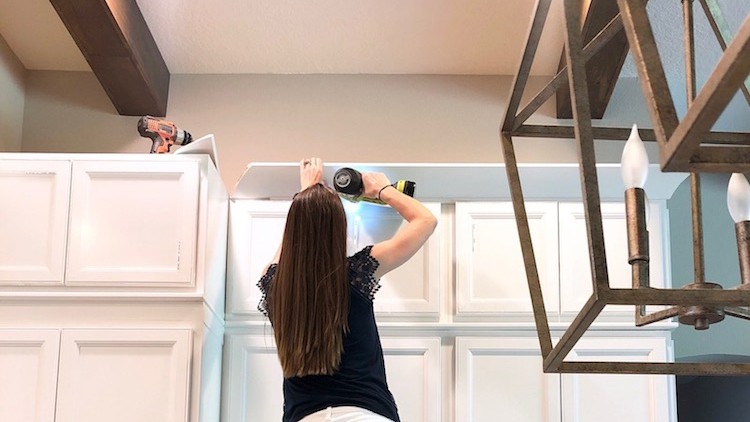
After all the fillers are in place, it’s time to put the crown molding back on. Fortunately I was able to reuse the crown I removed in step 1 with just a couple pieces needing slightly trimmed. I secured the crown to the front of the cabinets with my brad nailer then caulked and filled the holes.
Step 6: Add Hardware and Enjoy!
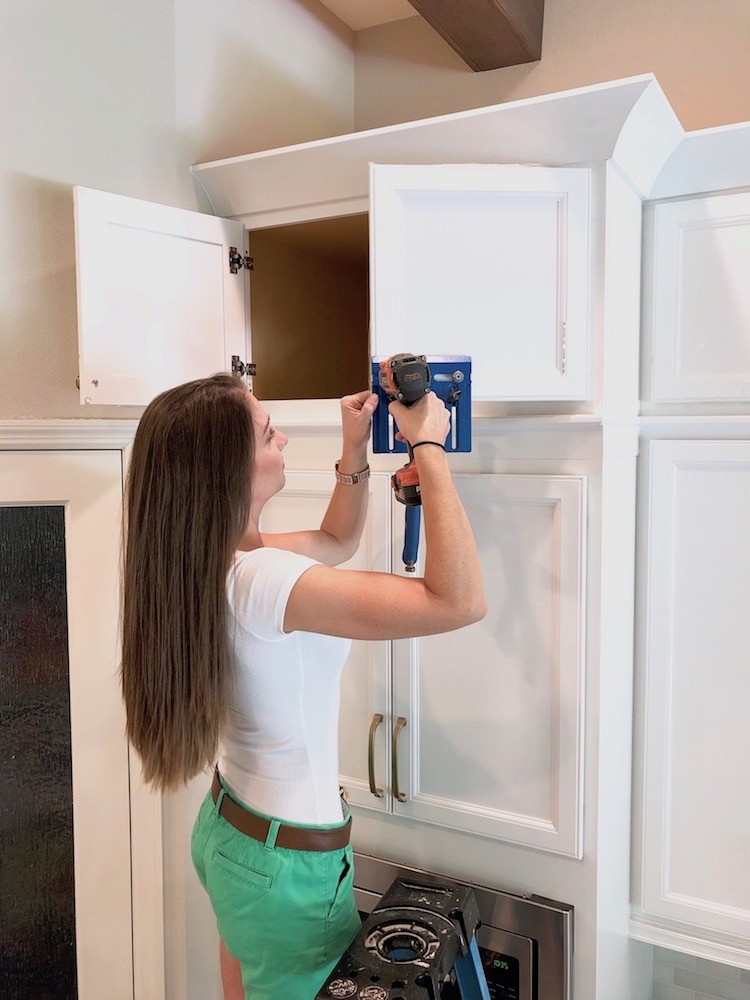
The last (and most exciting) part is adding the cabinet jewelry! I used my Kreg cabinet hardware jig to make sure I drilled the holes perfect!
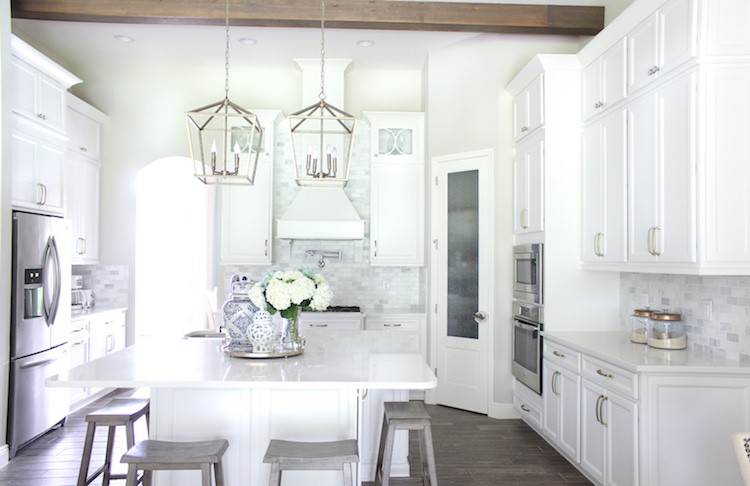
I couldn’t be more thrilled with the result and my dream kitchen is now officially complete!
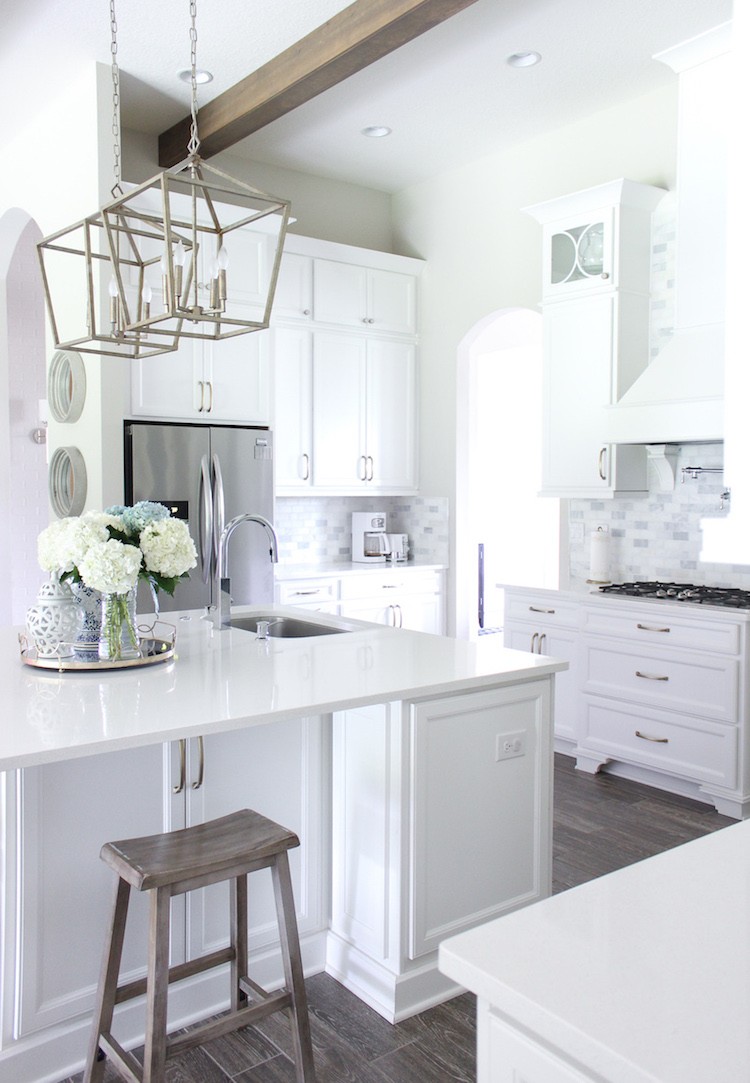
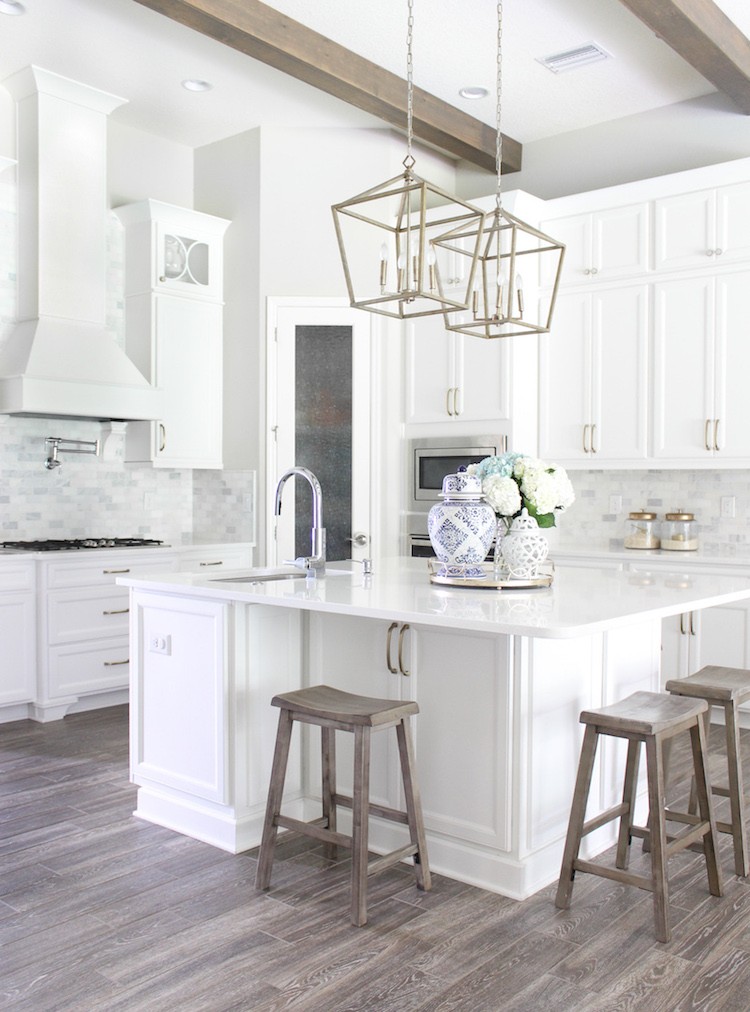
My new stacked cabinets look like they were there all along and that is the sign of a great project!
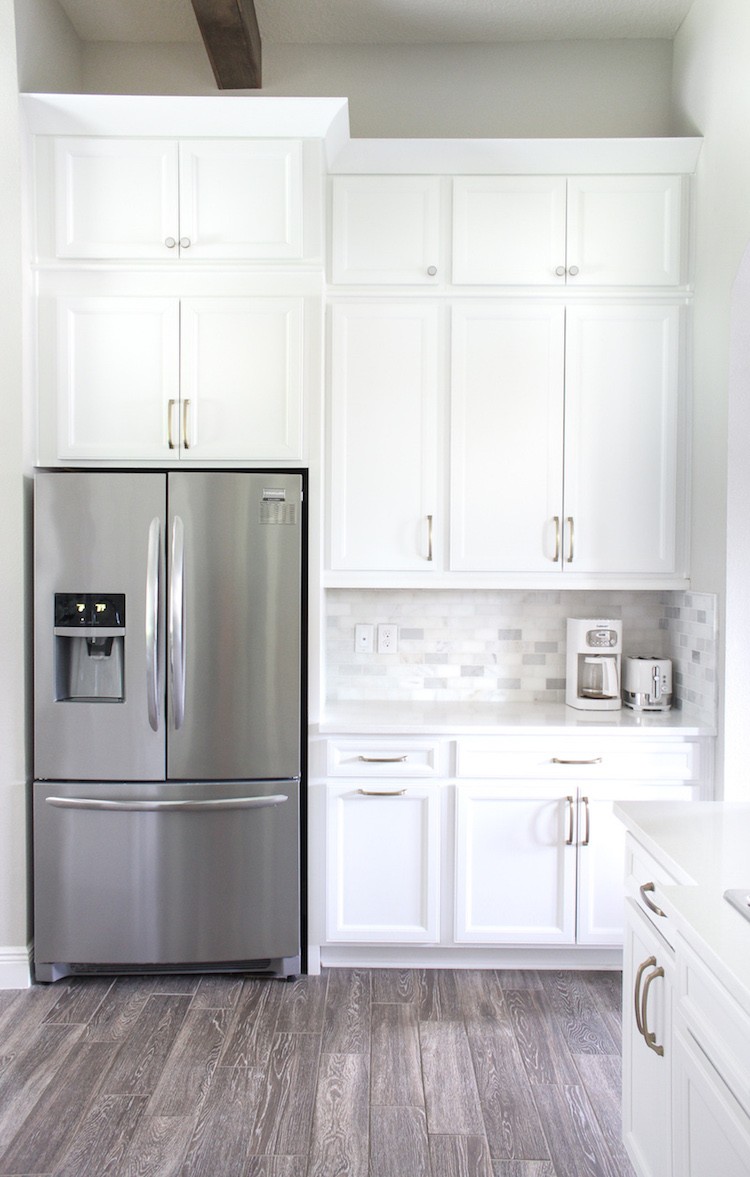
Product List:
- American Woodmark Glen Ellen door style in the duraform linen
- white wood filler
- 5” screws
- wood glue
- brad nailer
- Kreg cabinet hardware jig
The post Kitchen Cabinets Upgrade appeared first on The Home Depot Blog.



No Responses Yet