Hi everyone, it’s Jen Woodhouse here, digging myself out from under months of home renovations! I am thrilled to finally reveal my home office makeover! I am over the moon in love with this space! But first, let’s Tarantino this bad boy and rewind. We need to look at where we started, so we can marvel at how far we’ve come!
The Room Before
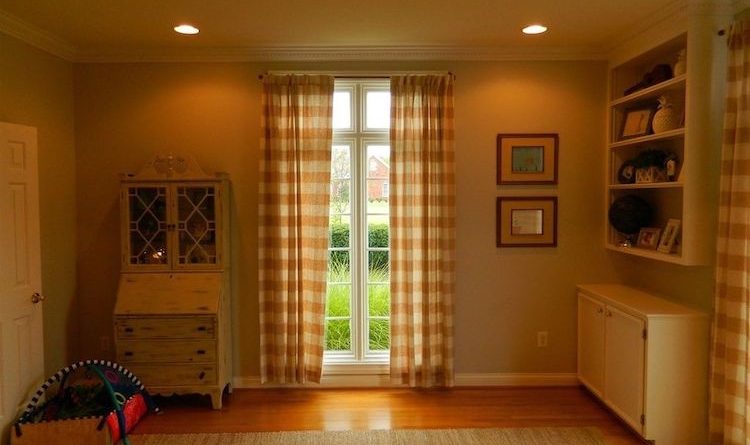
This is how the room looked before we moved in. It’s a great space with tons of natural light, but it lacked a clear direction. Is it a study? A playroom? A den? We can’t be sure, but I instantly fell in love with those two gorgeous floor-to-ceiling windows! So much natural light floods into this room everyday.
Home Office Makeover Reveal
Here’s what this room looks like now. Drum roll please.
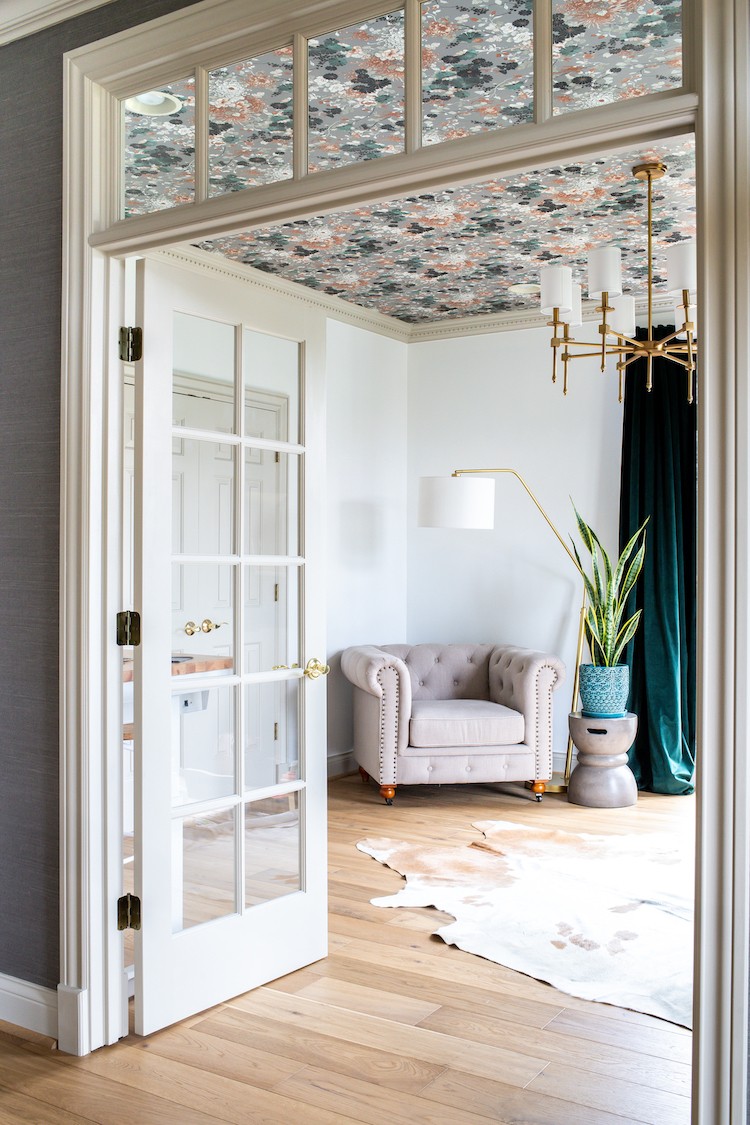
Now that the renovation is done, it’s time for the fun stuff: the furnishings and decor! Of course, I hit up my favorite store and found the perfect pieces to complete this home office makeover. The Home Depot has recently released an extensive and impressive line of home decor and furniture! You can find furniture, textiles, decor, and so much more. It’s your virtual one-stop-shop for all things home.
The Furniture
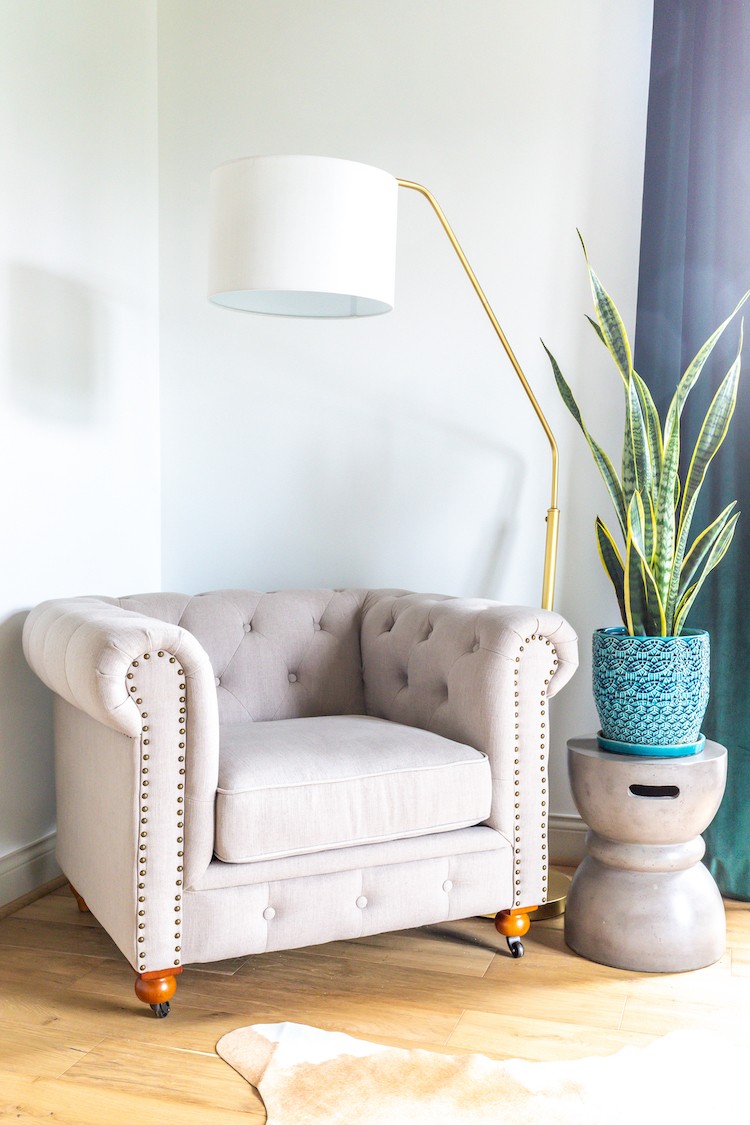
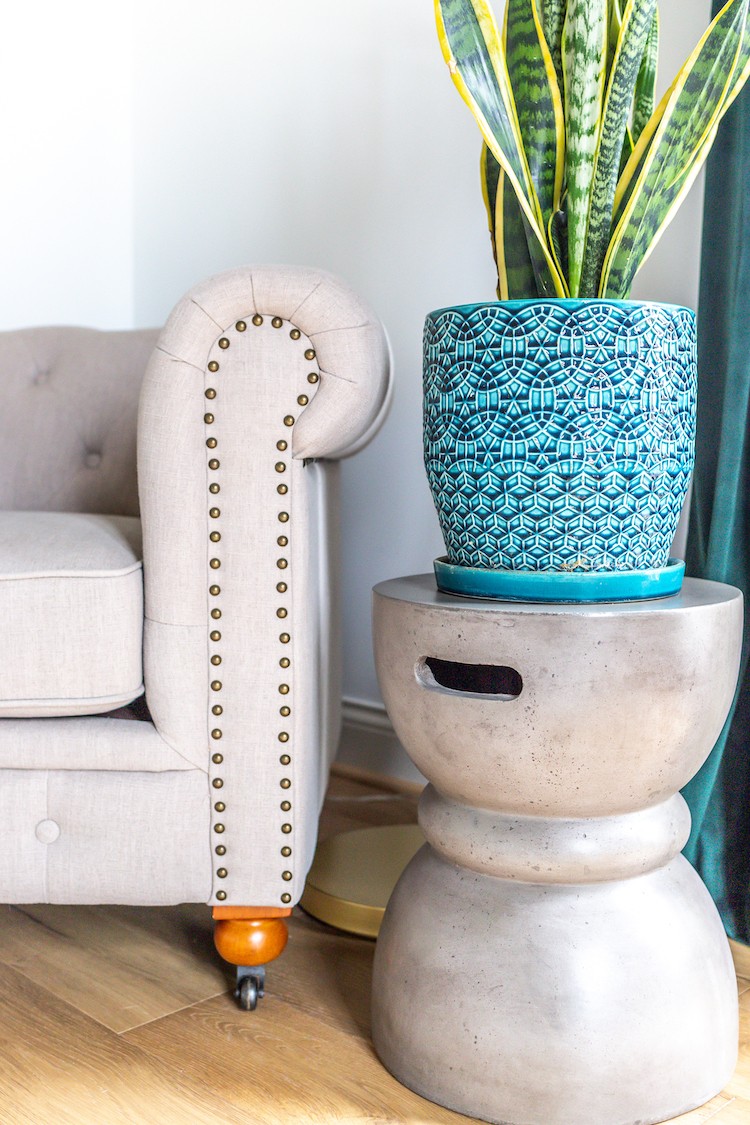
First, I outfitted this corner of the room with a beautiful natural linen arm chair, concrete accent table, gold floor lamp, cowhide rug, and my favorite Sansevieria Laurentii plant. Internet, meet Matilda. She’s a beauty and so low-key.
The Textiles
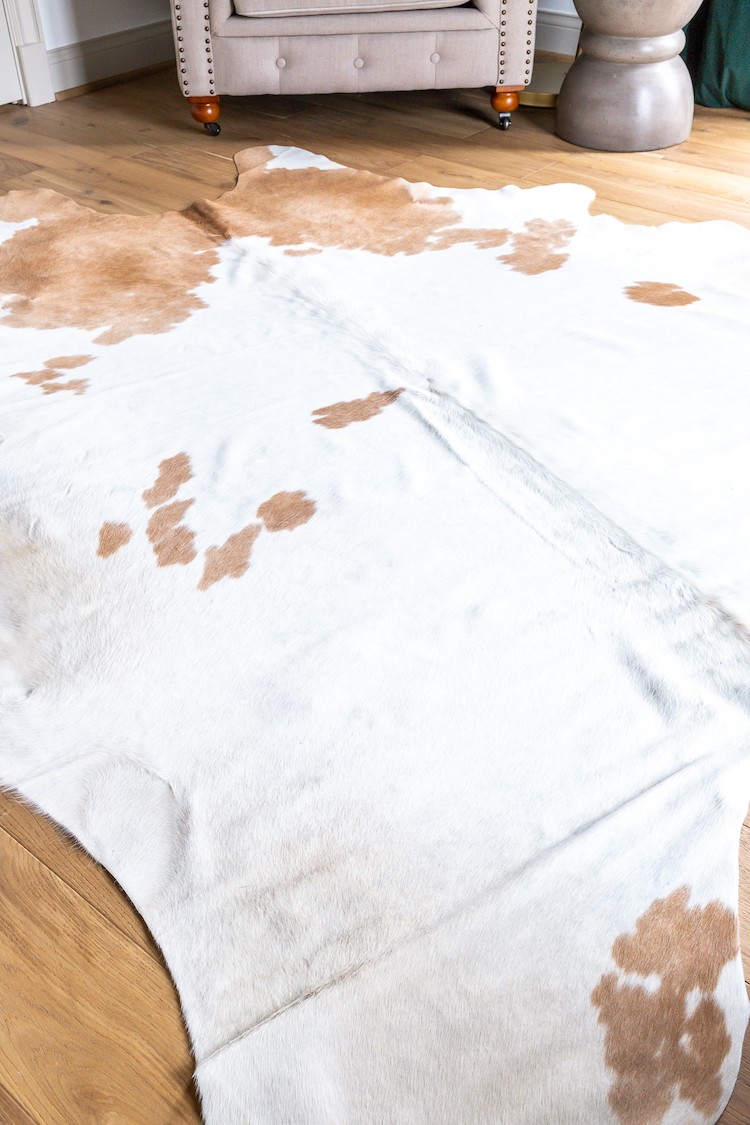
Excuse me. Can we just have a moment for this magnificent cowhide rug? It is so soft. I was quite impressed when I first unrolled it because I didn’t expect it to be so soft and luxurious! I love it so much. If I ever go missing, you’ll likely find me rolling around on this rug.
The Lighting
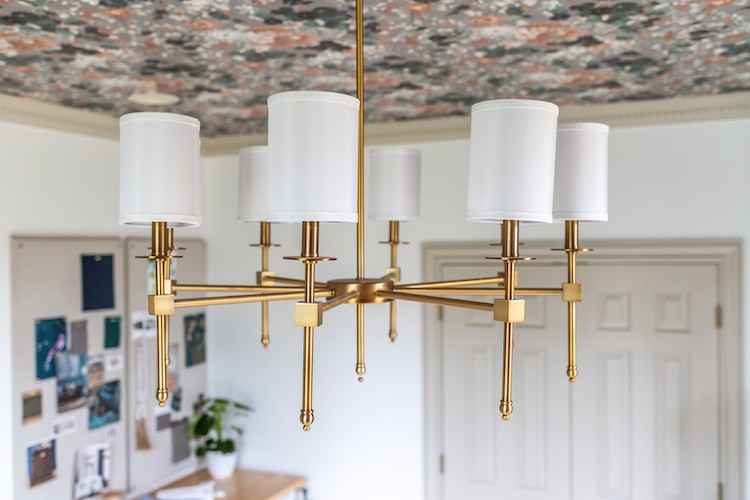
Part of the renovation involved hiring a licensed electrician to install a ceiling light so I could hang this stunning brass chandelier. And yes, I wallpapered the ceiling. No one liked the idea, but now do you see my vision? It is glorious.
The Workstation
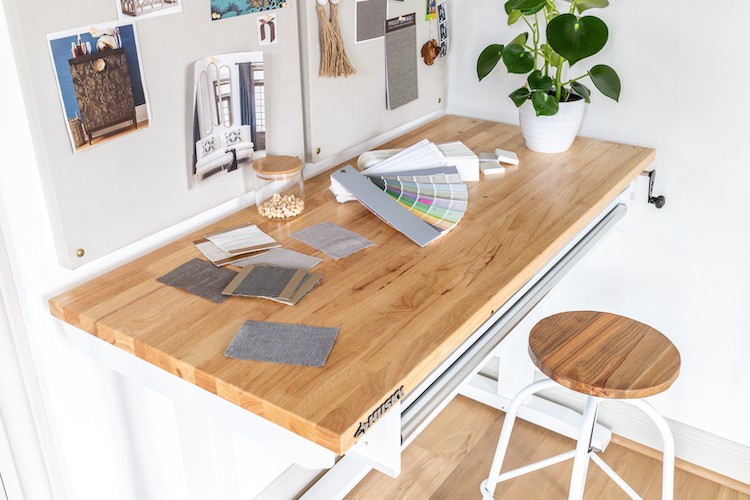
When I’m designing a room, I love to see the various design elements like paint swatches, fabric samples, tile options, color schemes and more, all laid out on one workstation. I searched high and low for such a workstation and kept coming up dry. At first, I was searching for standing desks because I wanted the tabletop to be counter height. I didn’t see myself sitting at this desk for hours on end, but rather standing over it, contemplating these design elements. Now, I’m not sure if you’ve noticed, but pretty much all of the standing desks available to us are quite unattractive. And “cubicle chic” is definitely not the vibe I’m going for in my home office.
One day, like many of my days, I was strolling through The Home Depot and stumbled across this Husky workbench. Like, I literally ran into it because I had my head buried in my phone trying to Instastory my second Home Depot run of the day (as one does). Lo and behold, it was exactly what I was looking for! So, I guess you could say, this table found me.
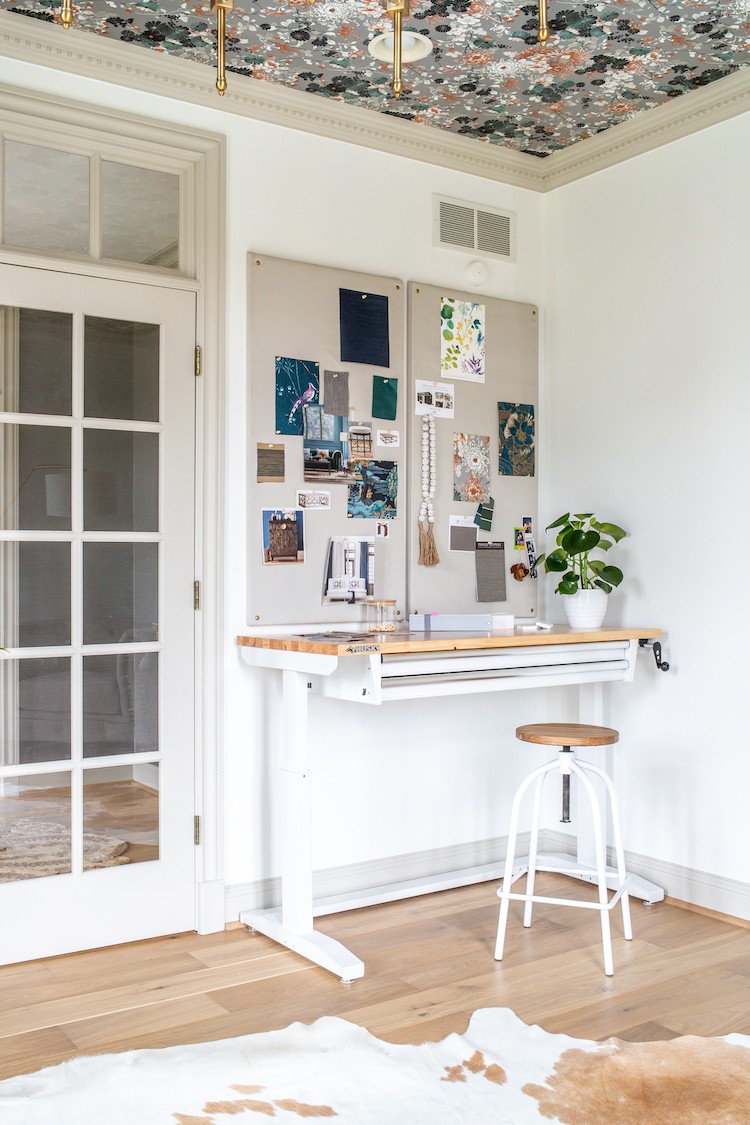
See that black crank on the right? The tabletop height is adjustable, so it can go from desk height to counter height with just a few turns of the knob! Amazing. And look at that beautiful and spacious solid wood top, with two storage drawers to boot! But here comes the moment of truth… would it fit in the space I had in mind? I pulled out my tape measure and measured the table with bated breath.
Fifty-two inches. It was exactly the right size. I heard angels singing “The Hallelujah Chorus.” My search was over! I had found the perfect workstation! It was meant to be.
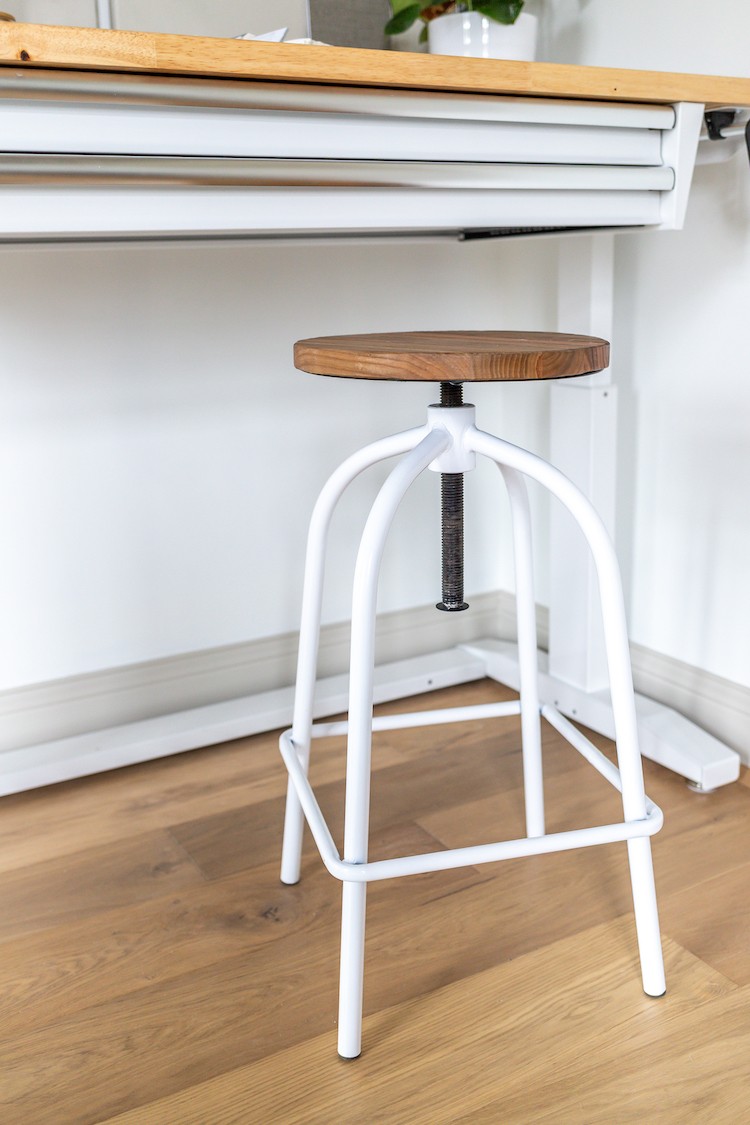
And of course, to go with my adjustable workstation, I had to find an adjustable stool! Home Depot to the rescue once again! I mean, you just won’t find a more perfect match, am I right?
You might’ve also noticed that we removed the honey oak hardwoods and replaced them with this wide-plank French oak hardwoods. We filmed videos of both the flooring demo and the installation on my YouTube channel, if you’re interested.
This is just one of my workspaces. I still have plans to build a DIY desk that will go in the center of the room. And on the opposite wall, there are built-in bookshelves (see the “before” photo at the beginning of this post) and I plan to build DIY filing cabinets beneath those shelves. This is what remains on the To-Do list before I call this room completely done:
- Build DIY filing cabinets with Carrera marble countertops
- Build a DIY desk
- Find artwork for the walls
Stay tuned for these projects – they’re coming soon! Of course, I’ll be sharing the whole shebang on my blog, JenWoodhouse.com and social media channels, so feel free to follow along there
The post Home Office Makeover appeared first on The Home Depot Blog.

No Responses Yet