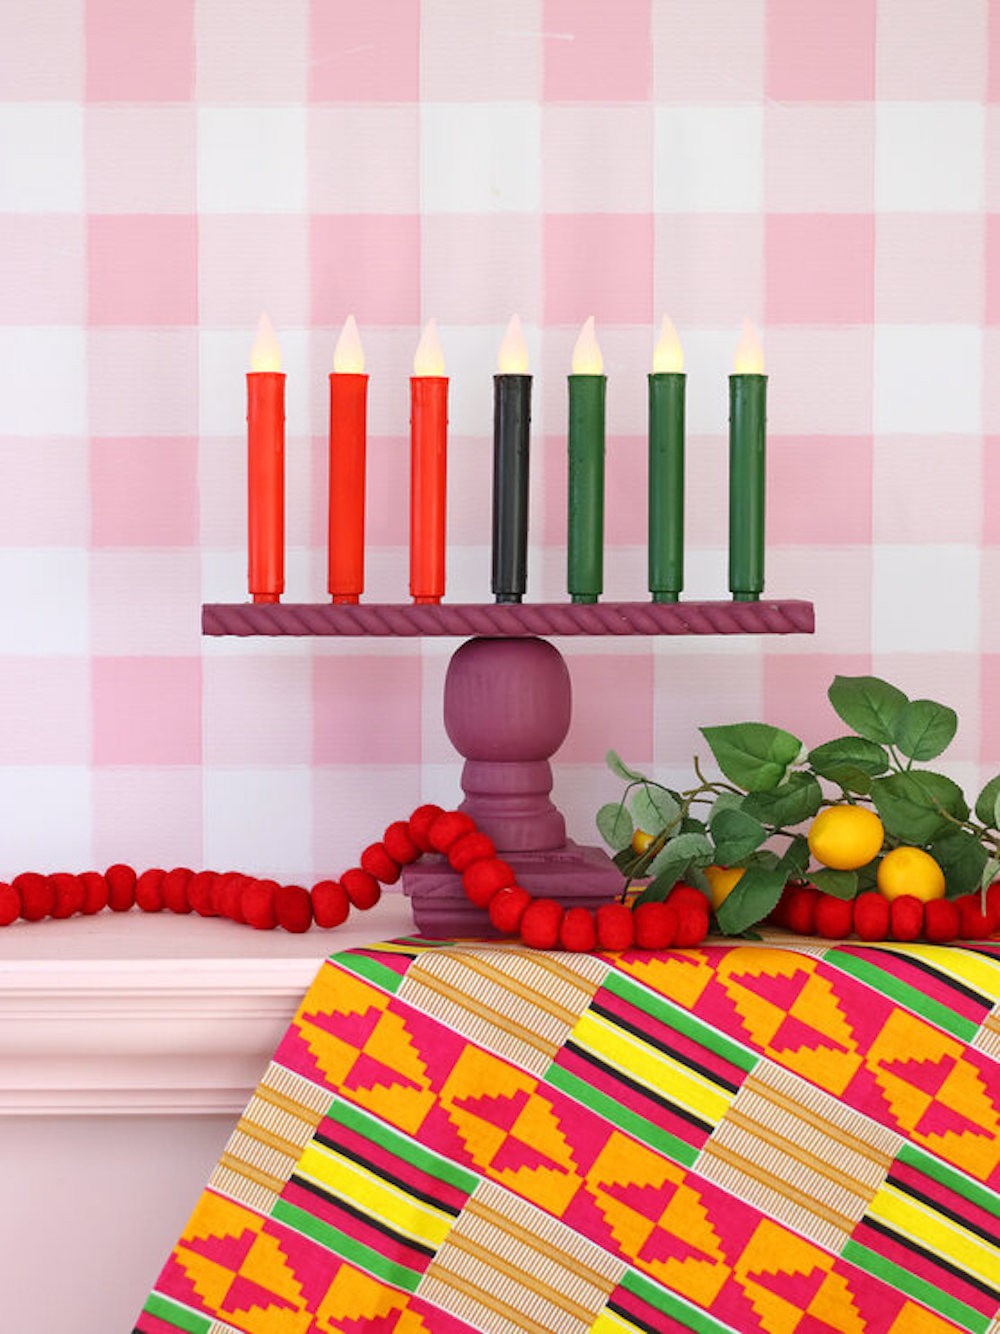
Kwanzaa is an African American holiday celebrating African American history, heritage and culture. The week-long celebration is observed from December 26th to January 1 and culminates with gift giving and a big dinner. Each night of Kwanzaa, families light the kinara – a seven candle holder. Each night of Kwanzaa is centered around one of the seven principles: Umoja (Unity) , Kujichagulia (Self-Determination), Ujima (Collective Work and Responsibility), Ujamaa (Cooperative Economics), Nia (Purpose), Kuumba (Creativity), Imani (Faith).
In the spirit of Kuumba, I’m excited to share an easy-to-make kinara that you can customize for your own family’s Kwanzaa celebration.
Unexpected Materials Make an Awesome Impact
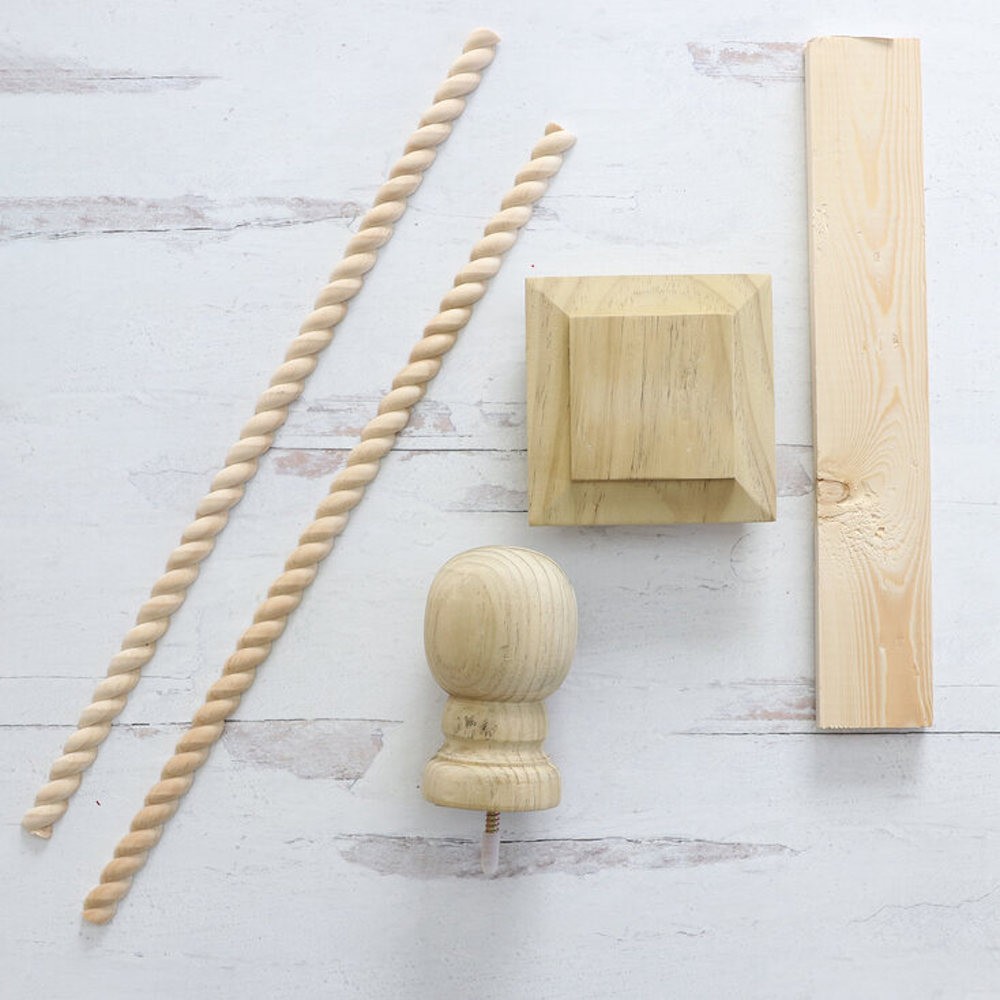
I love using materials in unexpected ways and this project is no exception. Here’s a look at what you’ll need:
Hampton 4 in. x 4 in. Pressure-treated Wood Pyramid Post Cap
4 in. x 4 in. Pressure-Treated Unfinished Pine Ball Top Finial
A 2.5” wide wood board cut to 15”
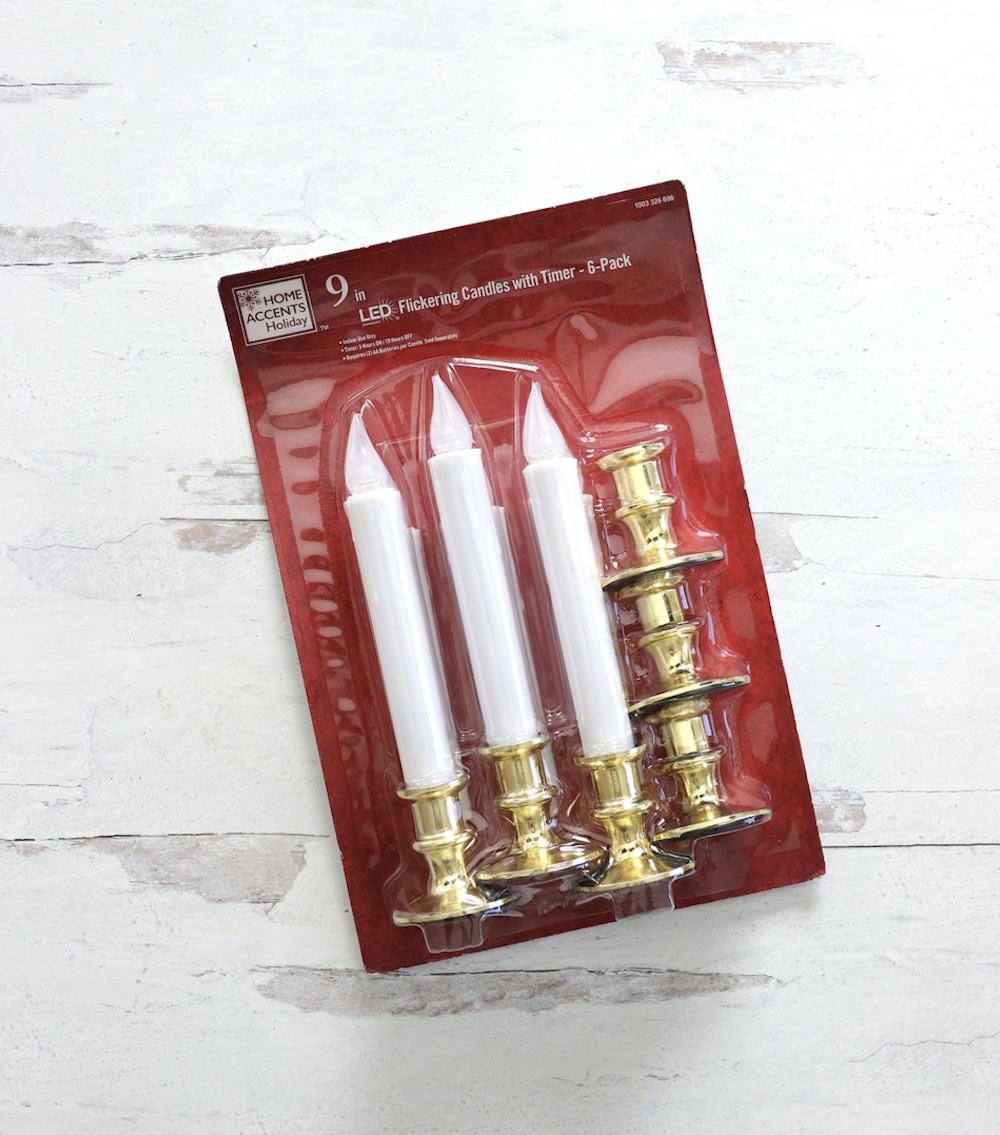
9 in LED Flickering Candles with Timer – 6-Pack (Gold)
Decorative trim of your choice
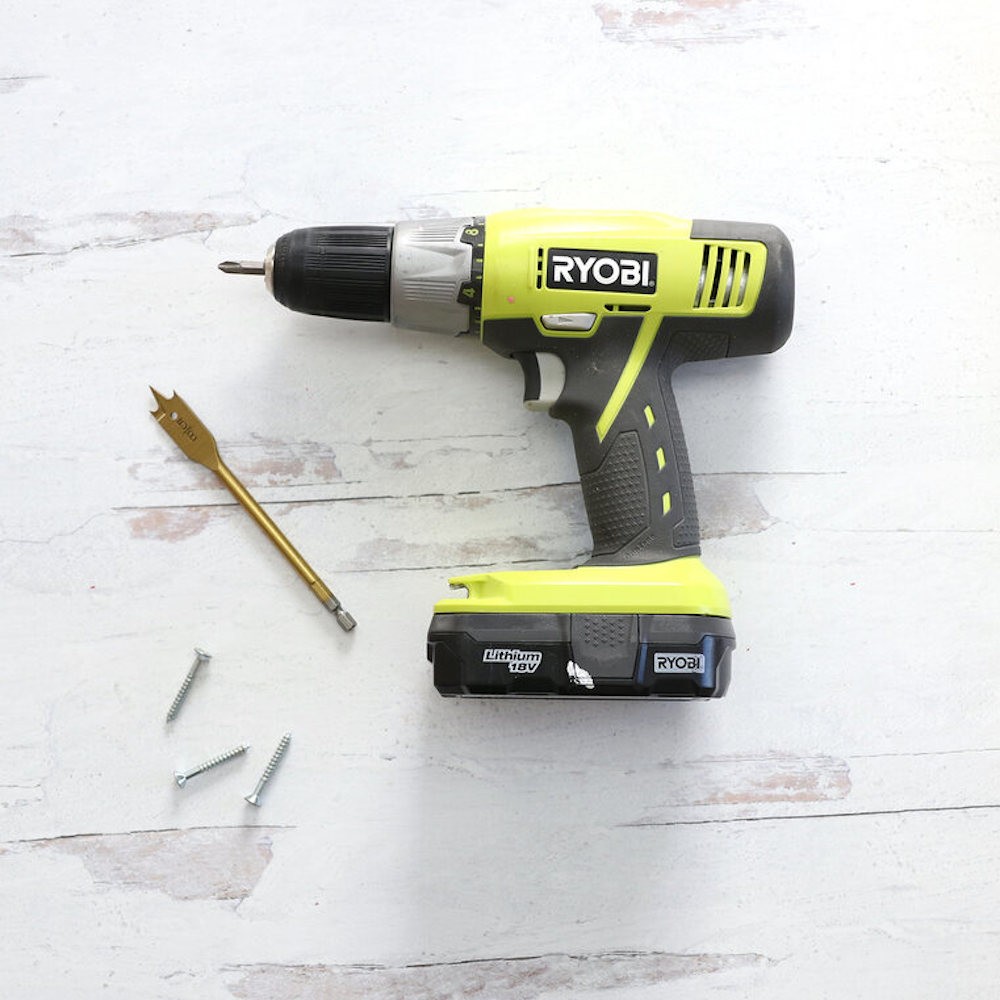
Drill
5/8” drill bit
Wood screws
Wood Glue
Let’s Assemble!
Just a few steps are required to assemble our Kwanzaa kinara. By using the post finial and fence post together, we can create a really beautiful, ornate kinda without any fancy woodworking!
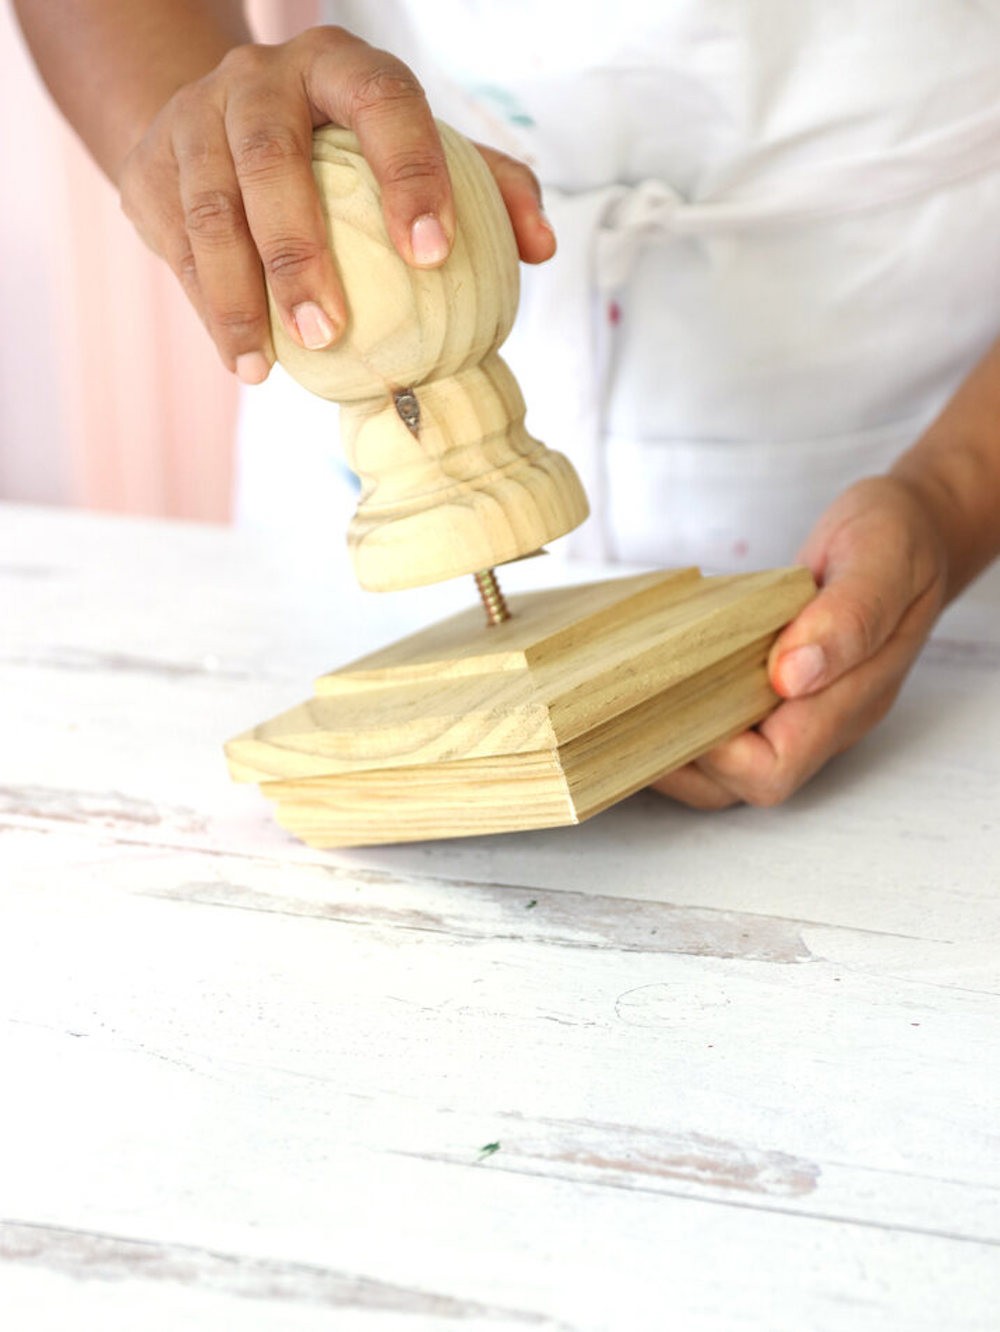
Twist the finial into the pyramid post cap . You may want to first drill a pilot hole in the post cap to make this step a bit easier.

Next, drill a 5/8” hole in the center of wood board at 7.5”. Don’t go all the way through! Just deep enough so that the candle will fit snuggly in place. Once you’ve created the first hole, drill six additional holes as shown in the photo.
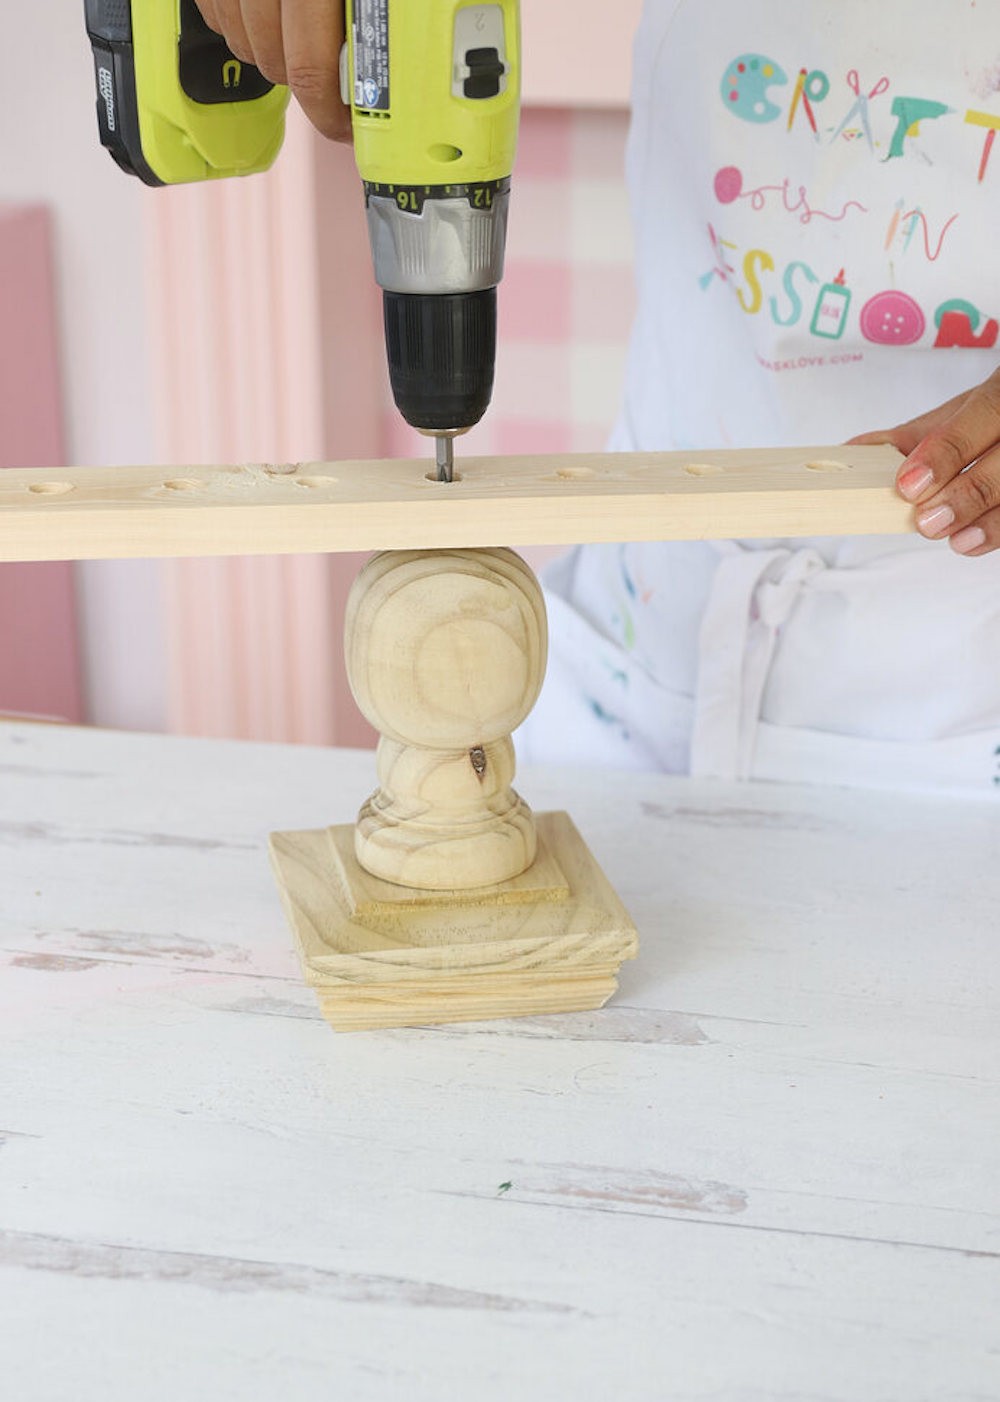
Use a wood screw to secure the wood board on top of the finial.
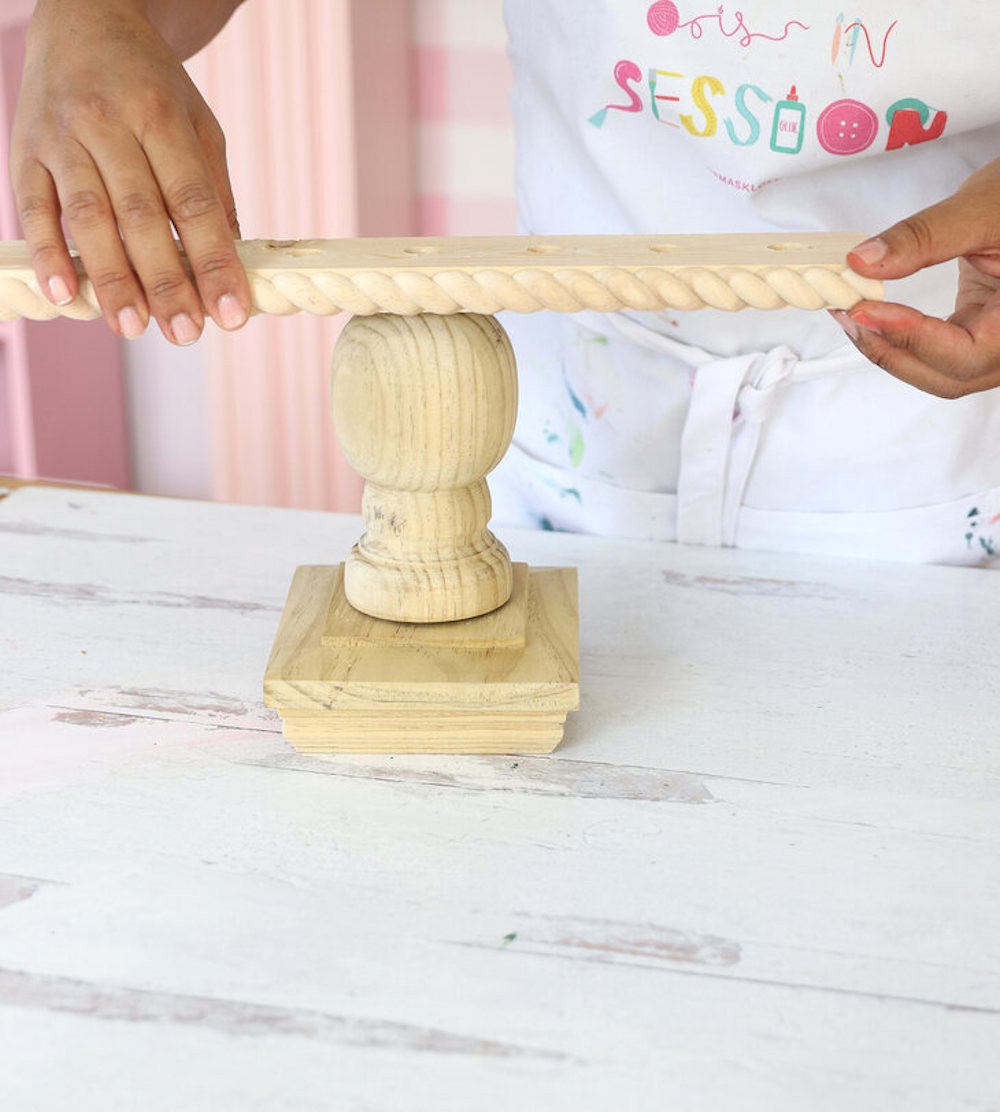
Add a decorative edge to your kinda with trim. You can secure this with wood glue or finishing nails…whatever you have access to!
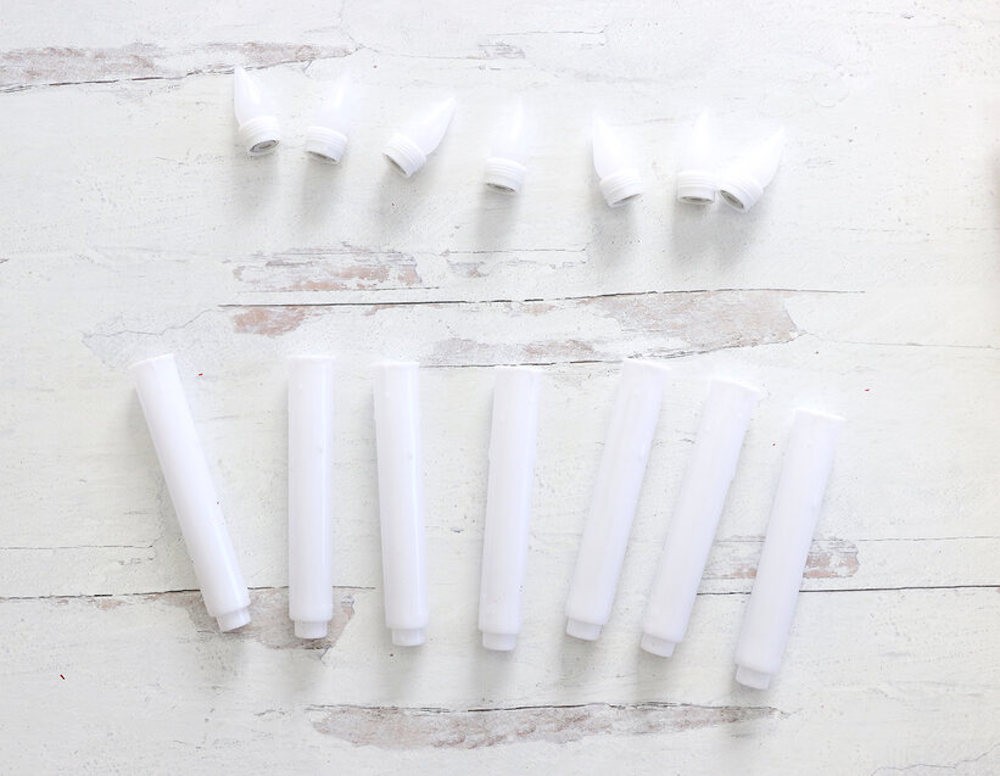
Remove the “flame” from the top of the battery-operated candles.
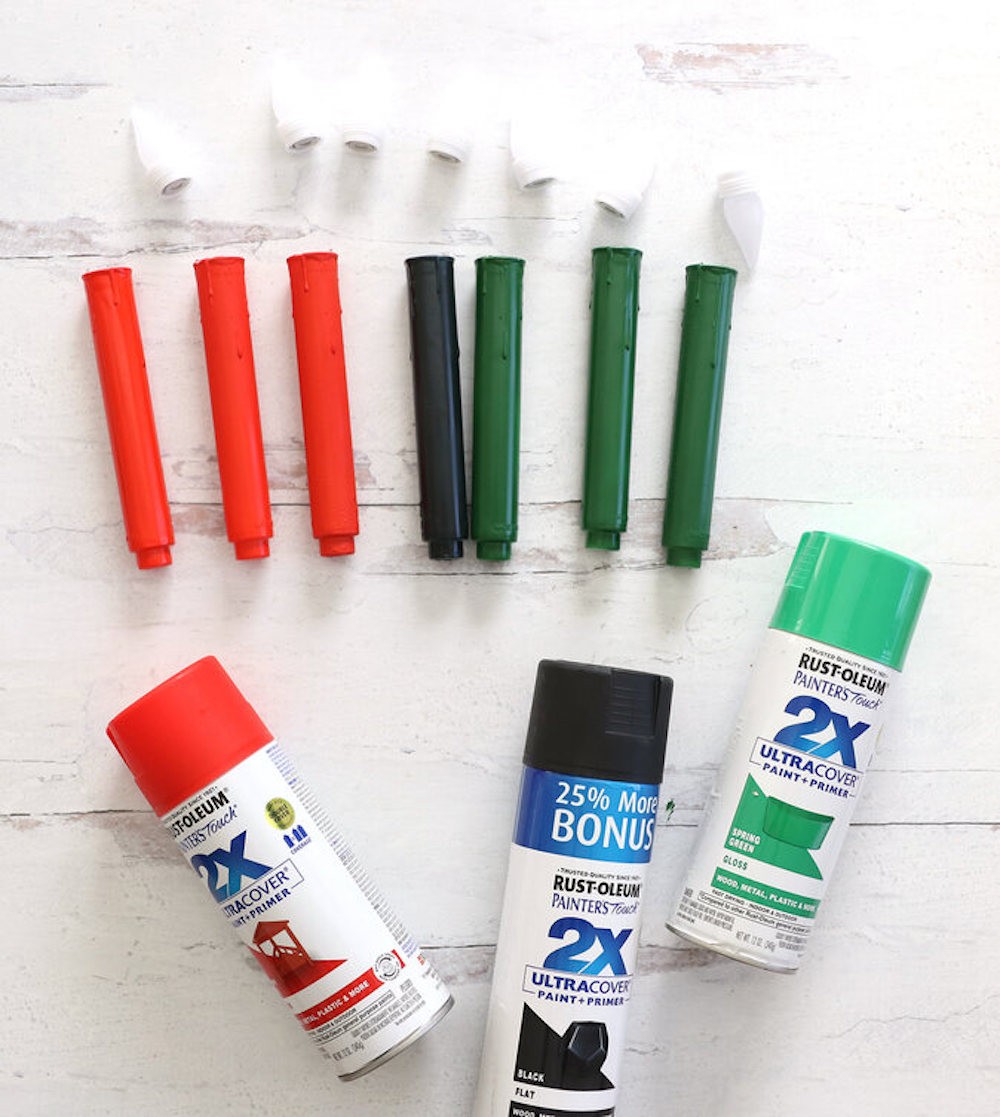
Now it’s time to create our Kwanzaa candles in traditional red, black and green. Spray paint the “wax” part of the candle and allow to dry completely.
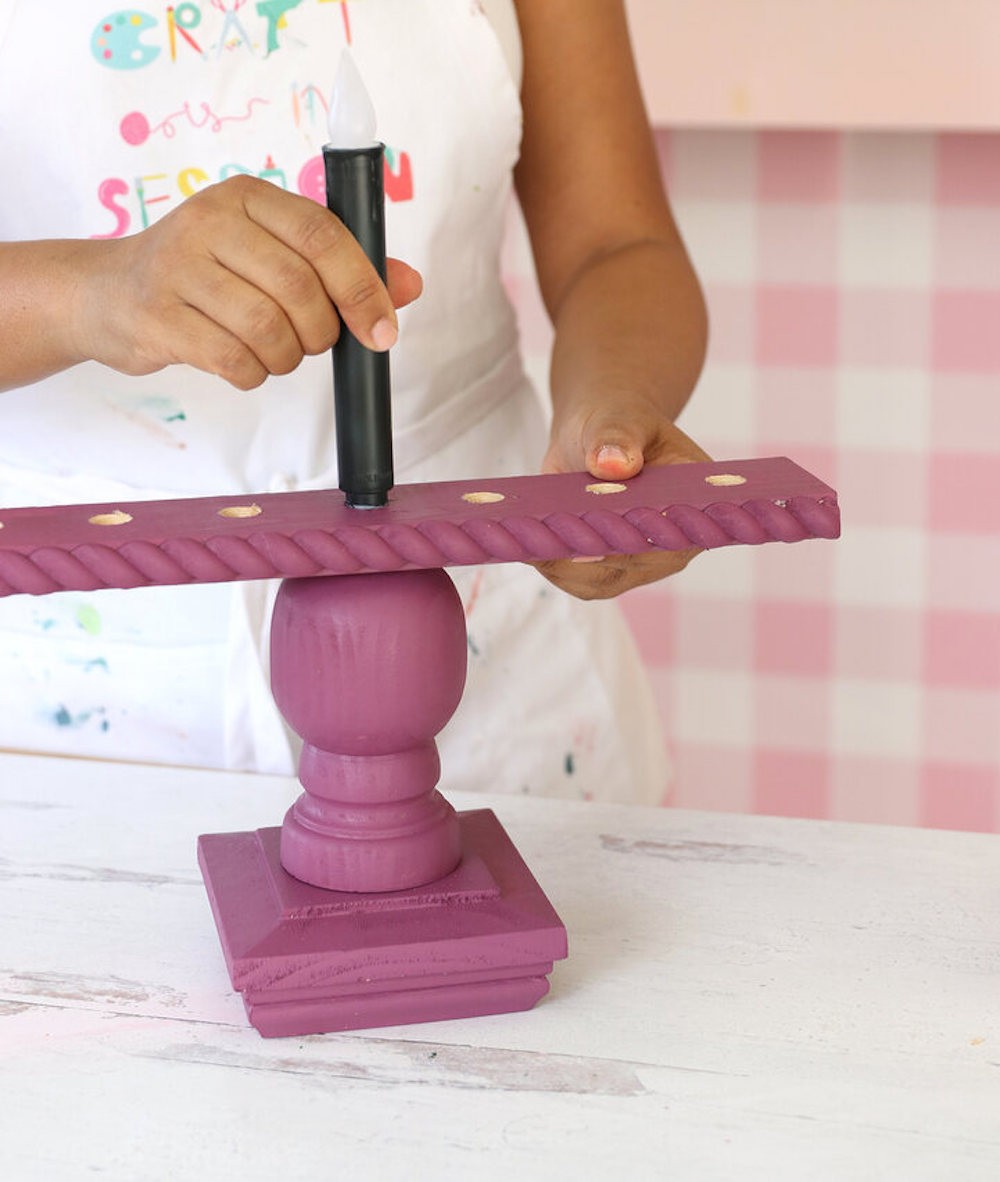
To finish off your kinara, paint the entire wood base with your favorite color then insert the candles into place.
Display Your Kinara
With the battery operated candles, you simply need to twist the flame to “light” each candle for every night of Kwanzaa.
This easy to make project is a home decor piece that will keep you celebrating year after year!
Happy Kwanzaa!
The post DIY Kwanzaa Kinara appeared first on The Home Depot Blog.
No Responses Yet